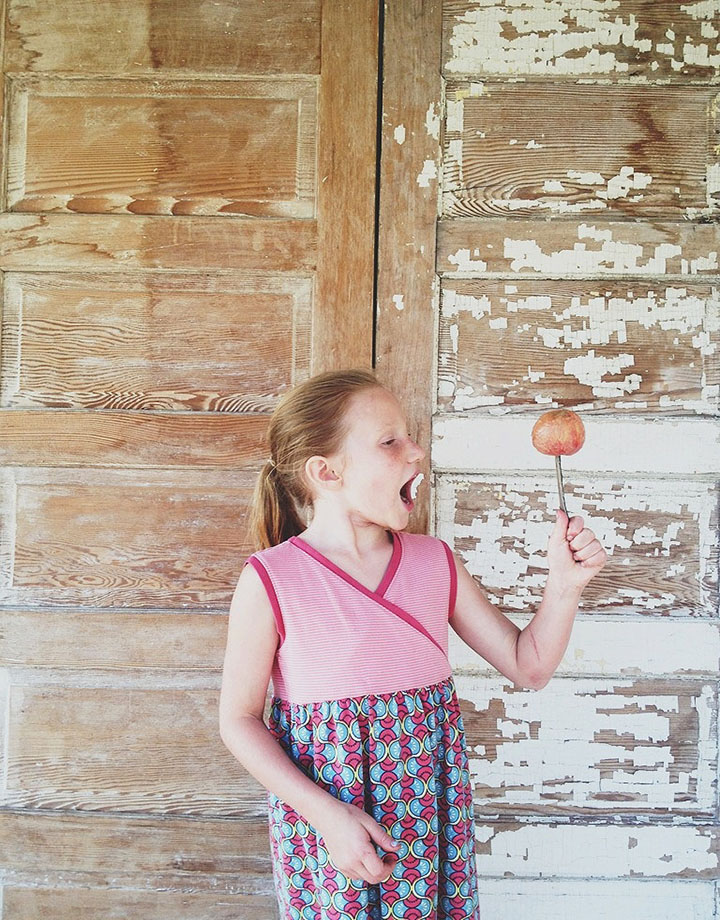
 (Faith with her attempt at making caramel apples in of her favorite Tea Collection dresses! She always wears this dress first, straight out of the laundry ;)) (Faith with her attempt at making caramel apples in of her favorite Tea Collection dresses! She always wears this dress first, straight out of the laundry ;))
How is Fall here already?
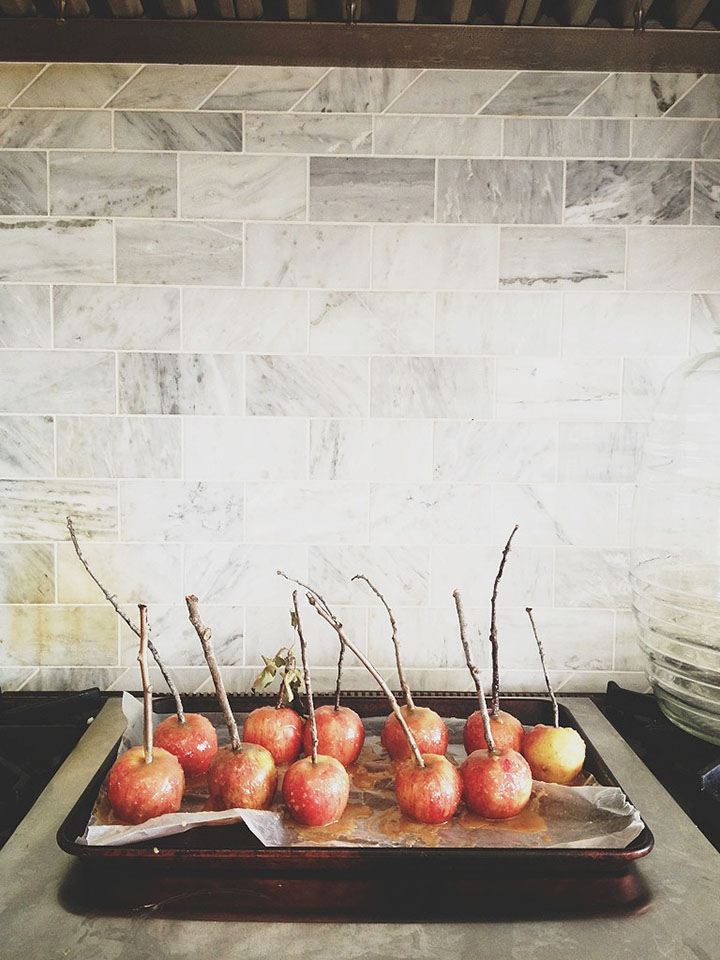
Well, in San Diego it will be Summer for another 2 months as far as the weather is concerned. September is usually our hottest month of the year and October trails along in the same manner, leaving us locals longing to wear sweaters in the Fall. A week or so ago, we ventured into the local mountains to snag some of the apples before they were gone. Last year we missed them by a few days. So, up we traveled with tank tops and flip-flops, with the sun on our shoulders, to pick apples and pretend it’s Fall. This week Faith and a friend we have visiting attempted the very difficult task of making caramel. Didn’t quite work but they seemed like they had fun.
For many of you, your kids have gone back to school and you are starting to switch gears to schedules, practices, school meetings, and hopefully ways you can reach out to people in need inside your community or town.
Last week, I was so excited to learn that one of my very favorite kid’s clothing companies, Tea Collection, is running their school fundraising program again! So generous of them to give back in this way, especially considering how much we all know our teachers would love to have a little spending money to use in their classrooms to make learning that much more amazing for your littles!

Here’s how it works:
Shop for clothes between October 21st and 27th.
Select your school.
Your school gets 15%!! Amazing, right? So generous.
Find a list of schools here.
Don’t see your school? You should totally sign them up (deadline September 13th)! Schools need proactive parents like you to help in ways like this to keep a smooth system running. Go for it!
Don’t have a school to support?
Tea is giving back to ANY non-profit with a 501(c)(3) program! Yay! Sign up those non-profits!
Make sure you follow Tea’s Facebook here and Instagram here for reminders. ;)
Don’t miss out on FREE money for your school when you shop at an already amazing store!
Can you tell I LOVE Tea?
Stick around and find us on:
F a c e b o o k // T w i t t e r // P i n t e r e s t // I n s t a g r a m // E m a i l

I’ve been having so much fun curating digital magazines for Flipboard over the last few months. I’ve been a Flipboard user for as long as I’ve had an ipad, but I fell I’ve fallen in love with this new style of reading tutorials and recipes. Basically, I read my content by “flipping’ through magazines created by myself or others. I can go directly from the mag to the article being featured and then right back again to the magazine. Personally, I find that it helps me get “lost” less on the internet and I waste less time opening multiple windows. Also, as I read, I can “flip” the content directly into my own curated mags and share with my own readers. So efficient, right?
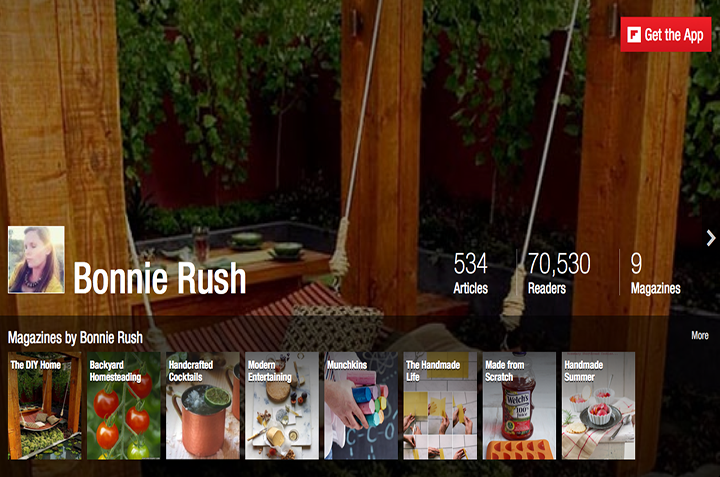
Why is this different from Pinterest?
I get this question a lot when I share about these new Flipboard mags. In my opinion, the ability to see the entire article, then go back to the original with one touch of my finger is invaluable. I love it and it works soooo well for me. I also look at these mags as an opportunity to start fresh and created these magazines to be something I use all the time myself. Plus, they look clean and are peaceful to “flip” through. My Pinterest can be overwhelming and full of things I don’t care to look at. Plus, YOU CAN SHARE THEM ONLINE NOW!! I’m so excited to be able to share what I love with the rest of the interwebs!!
To hear more about how I use my Flipboard mags and why I love DIY, check out the Interview I did with Todd Lappin of Flipboard! It was an honor to have someone ask questions about something I love!
Stick around and find us on:
F a c e b o o k // T w i t t e r // P i n t e r e s t // I n s t a g r a m // E m a i l
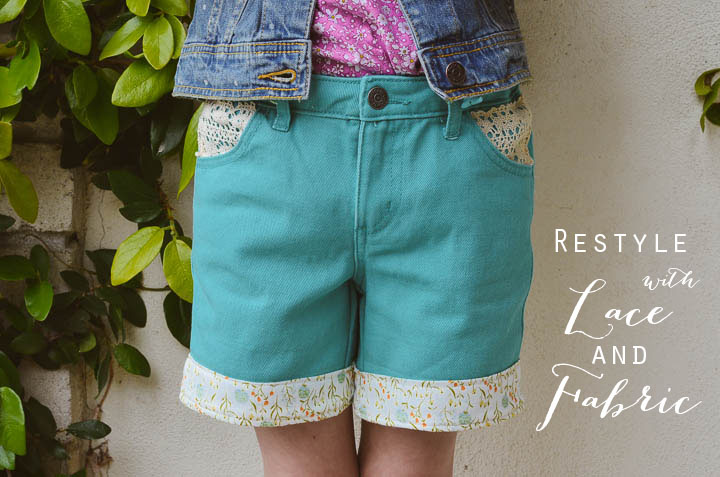
This post should be titled “I Love Heirlooms and Heather Ross” but that would only make sense to me and that’s of no help to you guys. It is a true statement though and the beginning of the story to these shorts.
I have a box of lace that was collected by my Grandma and passed on to me. Sometimes with heirlooms, I tend to hold on to them without putting them to use because often making use of them involves altering them drastically. I always question whether the person would have wanted their items the same or if they even would even care at all. I also treat my Heather Ross fabric the same way. Her fabric is my favorite and some pieces I had to hunt and barter for so they are like gold to me. Having these items sit in my closet isn’t any good either so I knew I needed to stop hoarding and just MAKE! I’m such an over-analyzer which is why I had to quit scrap-booking…too many choices.
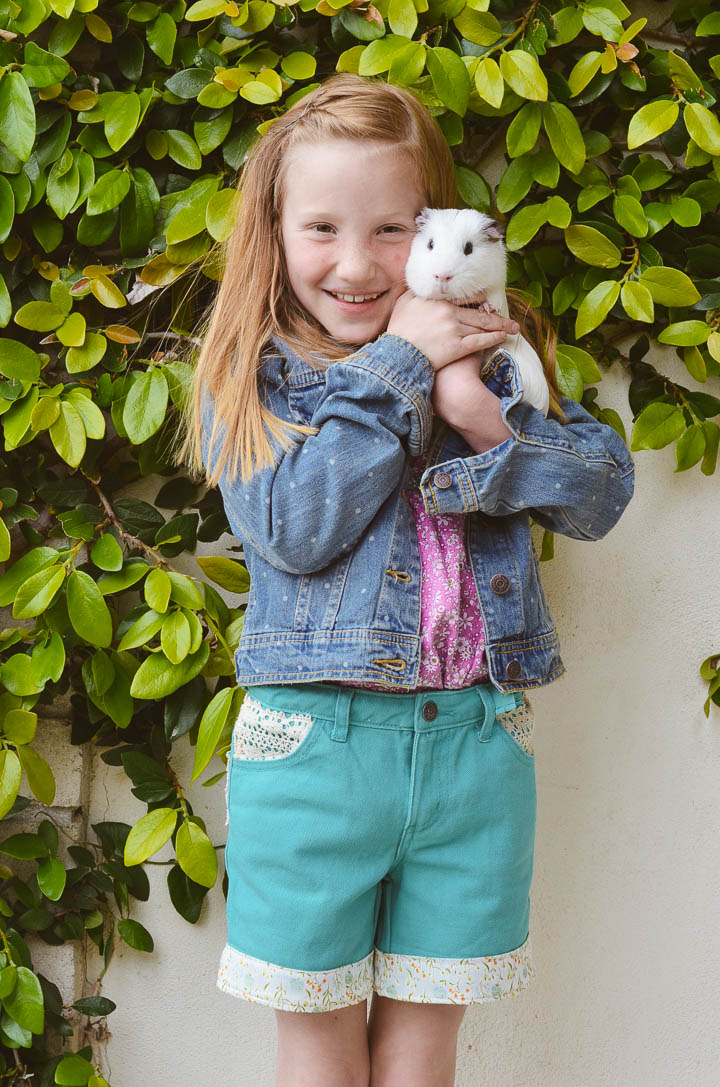
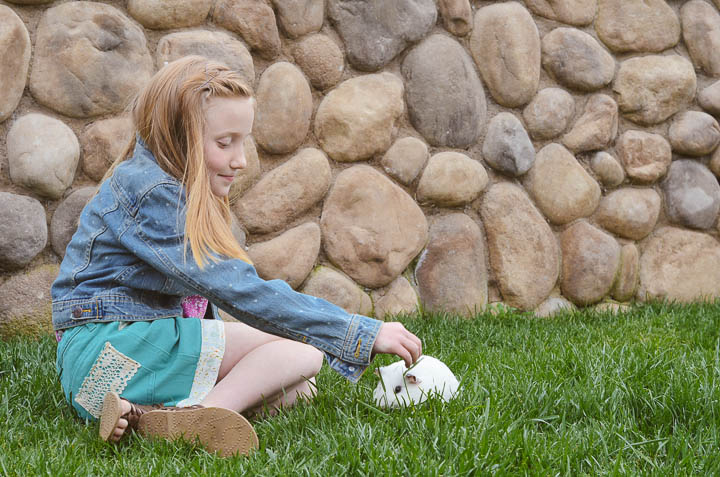
So, I saw these kids shorts at Target which were a lovely shade of turquoise-y/teal, but they were too short for my comfort on a little girl. Call me old-fashioned but I don’t dig the cheek hanging out of the shorts look. Ok, these weren’t that short but still…what’s up with those teenagers? I decided to add some fabric to the ends and lo and behold, the Heather Ross wildflower fabric from her first Far Far and Away line was PERFECTION. I’ve had this fabric since the day it came out and I’m so glad I cut into it. Next, I added lace to the front and back pockets, hoping that this will encourage my dress-wearing girl to adopt some shorts into her wardrobe!
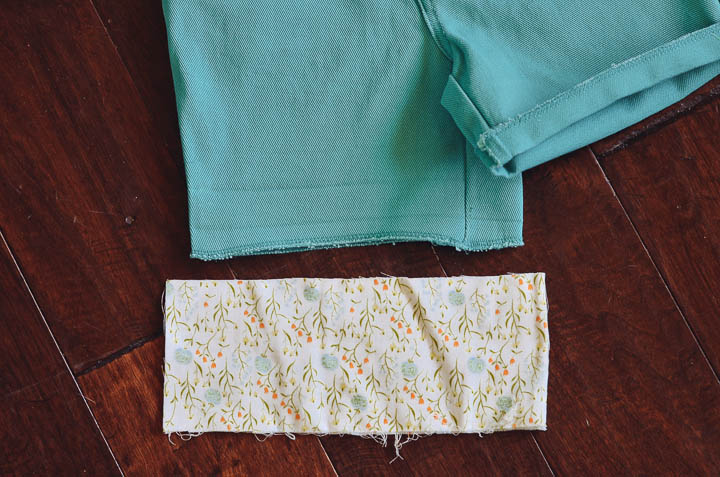
For the fabric cuff:
1. Undo the current cuff with your seam ripper and unroll the shorts completely. Turn the shorts inside-out.
2. Cut a piece of fabric that is 1/2 inch longer on each side than your un-cuffed short bottoms and 4 inches high. You will need 4 total, 2 for each front and 2 for each back cuff.
3. Iron the WRONG sides of each fabric piece together, matching the salvaged edges. Iron the un-cuffed short bottoms.
4. Match the edges of one front piece to the top and one back piece to the bottom of the shorts. Pin.
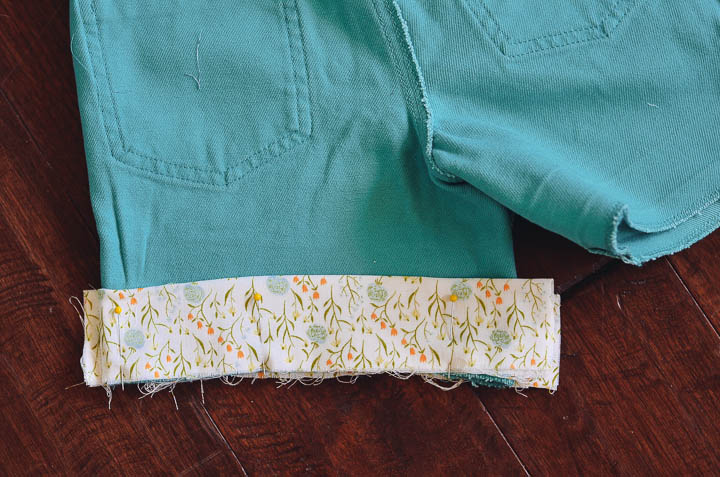
5. Sew along the sides of each fabric panel, just outside where it meets the shorts with a 3/8 in seam allowance.
6. Sew the fabric to the bottom of the shorts all the way around leaving a 3/8 in. seam allowance. Go over the thicker parts twice.
7. Repeat with the other cuff and turn the shorts right-side out again. Bring the newly sewn fabric cuff around to the front.
8. You can sew the inside and outside edges of the cuff to the main body of the shorts or simply sew the cuff to the shorts all the way around 1/4 in from the top, so it doesn’t flip up and down all the time. I prefer the latter because I do NOT want to iron kids shorts!!
You’re done with the cuffs and you can totally stop there if you want!
or you can add lace to the pockets…
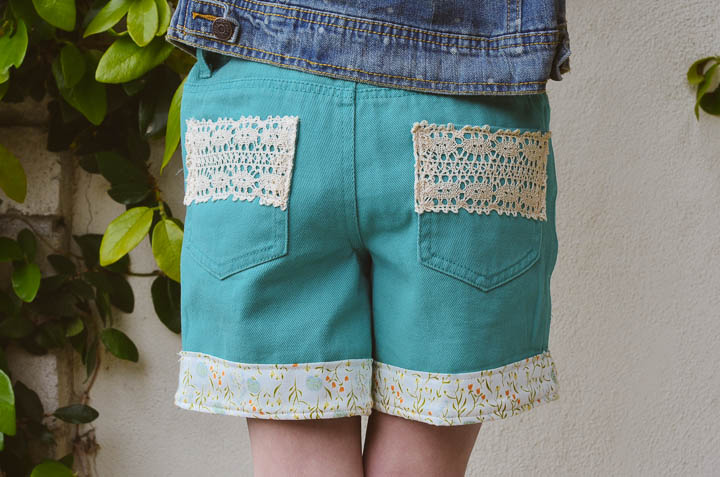
For the lace pockets:
Simply cut a piece of lace 1/2 in. longer than each side of the back pockets. A lace piece that is long and finished along its edges works perfectly. Line the lace up with the top of the pocket and tuck each 1/2 in. under on each side. Pin and sew around each side of the lace, going over it a second time because lace has many holes.
For the front pockets, find a piece of lace that can tuck inside the pocket. Tuck under and pin any of the salvaged sides of lace that are sticking out. You might have to wrangle this pocket a bit, but you only need to get in there and get that sewing done. It doesn’t need to be fancy because the lace is very forgiving and doesn’t show mistakes like normal fabric.
Now, you’re REALLY done!! If you restyle some shorts be sure to link up below!!
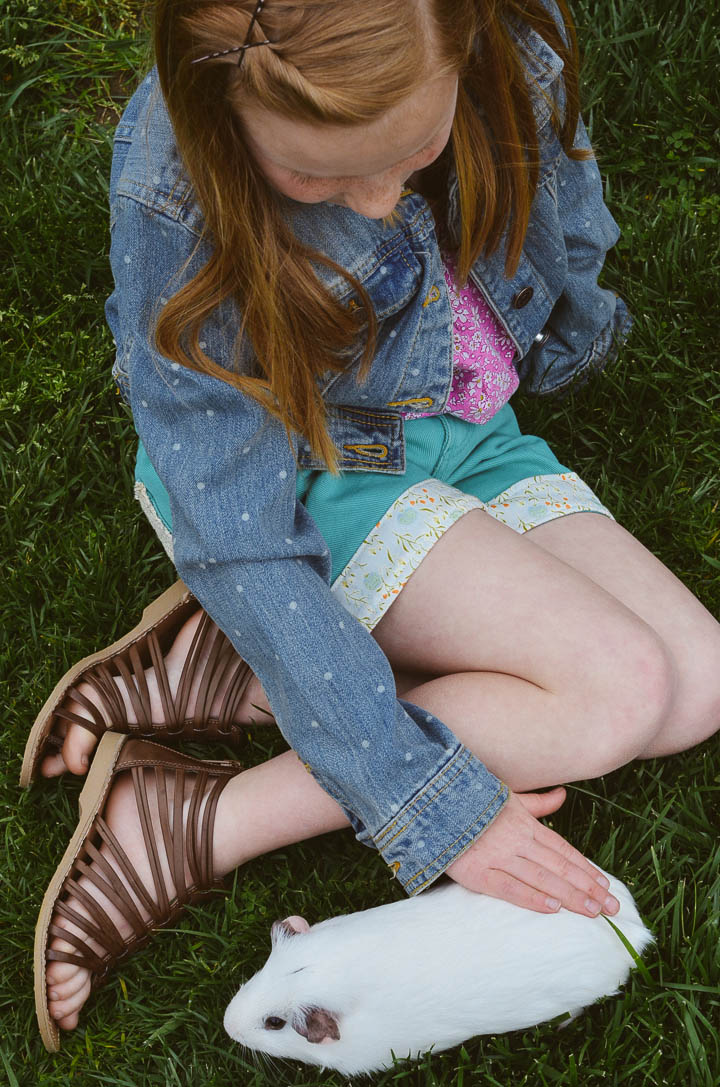
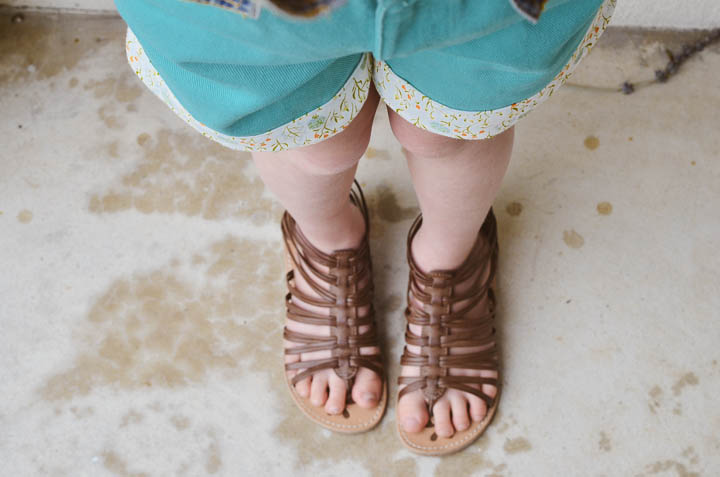
Stick around and find us on:
F a c e b o o k // T w i t t e r // P i n t e r e s t // I n s t a g r a m // E m a i l
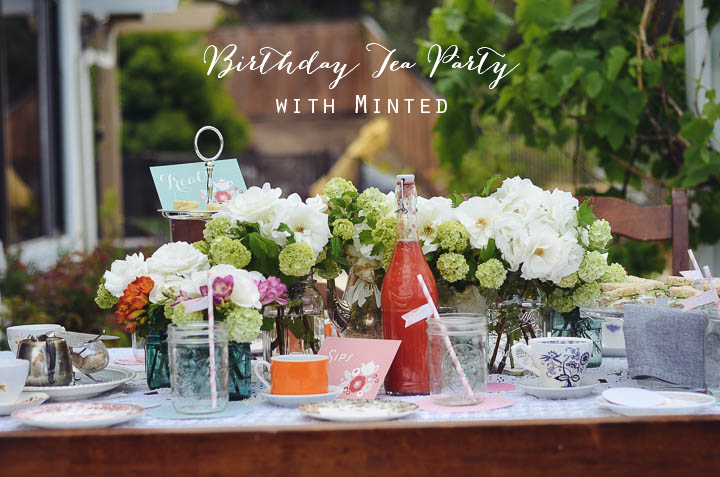
When I have a party, I want everything to be beautiful but simple. I was so excited to team up with Minted for Faith’s birthday this year because they totally fulfill both of those requirements in their party decorations. I love seeing new companies make party-planning easier, true, but making the decorating the way I would make it myself…AMAZING!
I started using Minted products back when I bought my business cards in December. I fell in love with their triple-ply cards and I’ve had nothing but an amazing response to them from the people I hand them to. SO, I was definitely excited to play with their party product line that came out recently.
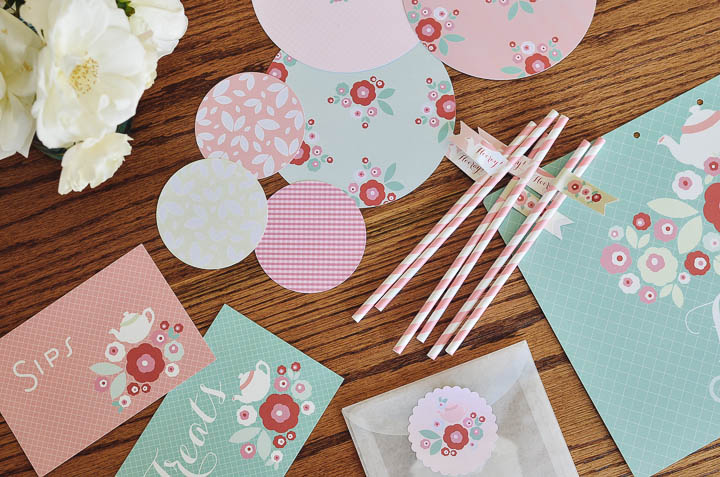
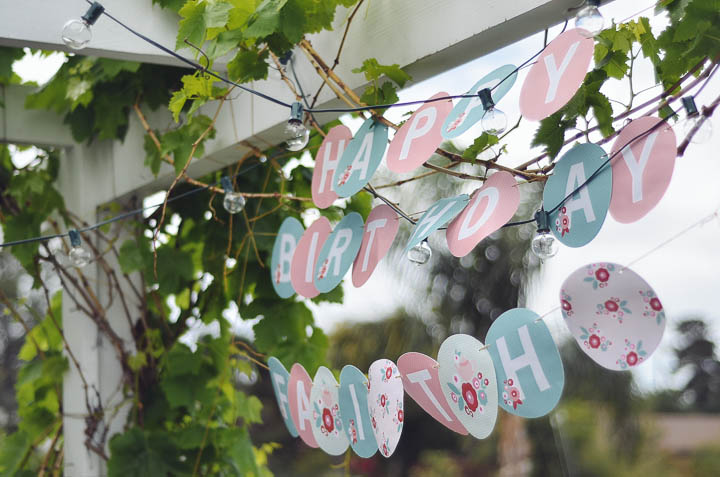
I ordered the Perfect Party Package, which provided everything you see in the photos. The name of the design I chose is “Retro Floral Garden Party”. So many wonderful things and I didn’t have to do anything more than arrange everything.
Now, the food…you know, the best part. I’d love to share some of my new favorite food finds with you. Sound good?
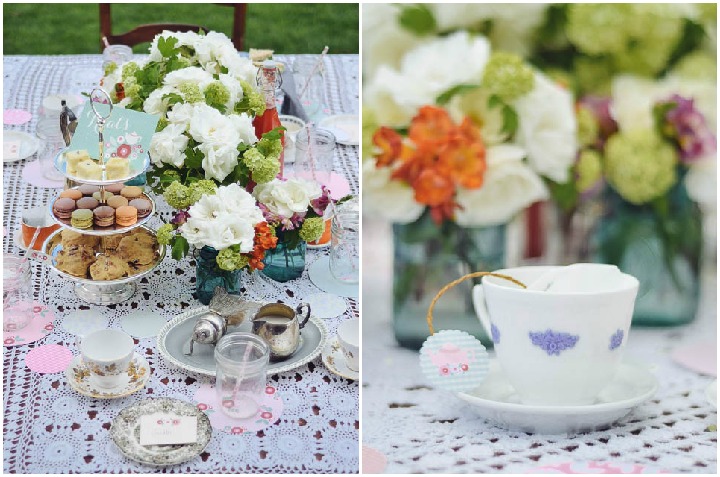
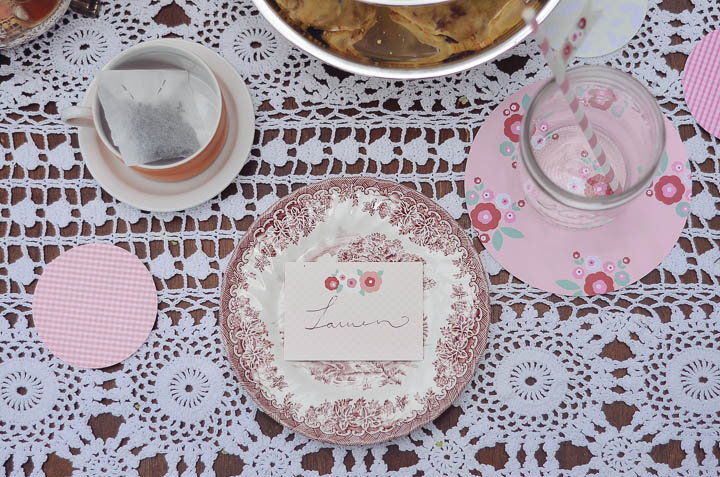
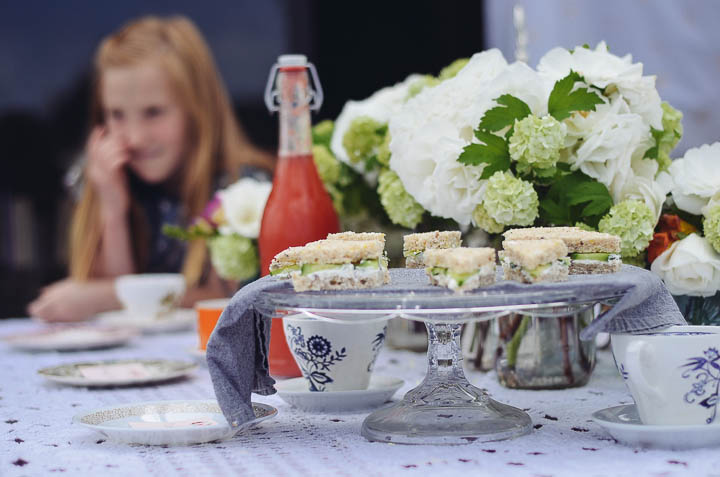
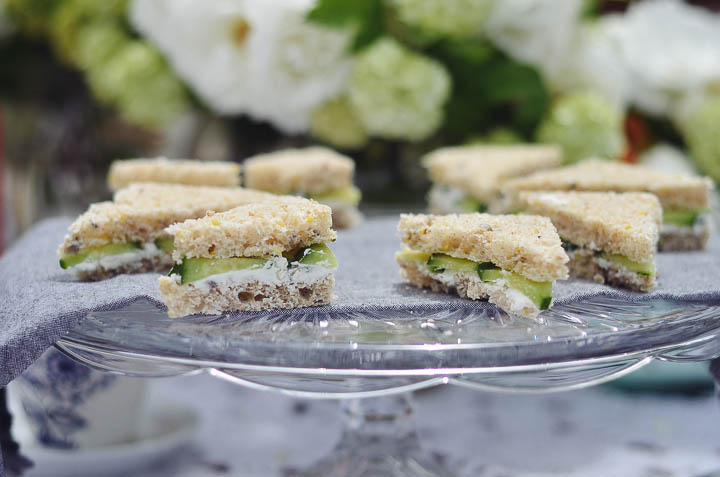
For most parties, I tend to do too much. No, I don’t go so far as to build the gardens of Babylon out of fruit, but I do tend to try to make, create, and cook so many things from scratch. I love making all of it and THAT is the problem.
This time, I found a few great pastries which I would be happy to serve day or night to my guests. The first one is from Trader Joes. Have you guys had their macaroons from the freezer section for $5?! Amazing, let me tell you. I’ve eaten sooo many. They have the right flavors and colors for serving purposes, as well. You can see them a few pictures above. The second food item would be petit fours. Man, what a time I had locating a bakery that would make me a tray at all or for under $150. After a crazy amount of searching, I finally just decided to make them. I had told my family I was buying them and they were all so impressed that I was attempting changes in my life, I couldn’t let them down and “fully” make them. So, I pulled a semi-homemade. I used a Trader Joes pound cake, filled them with some of our homemade strawberry jam, and bathed them in a white chocolate ganache. They worked out pretty well, methinks! I’ll share more details soon.
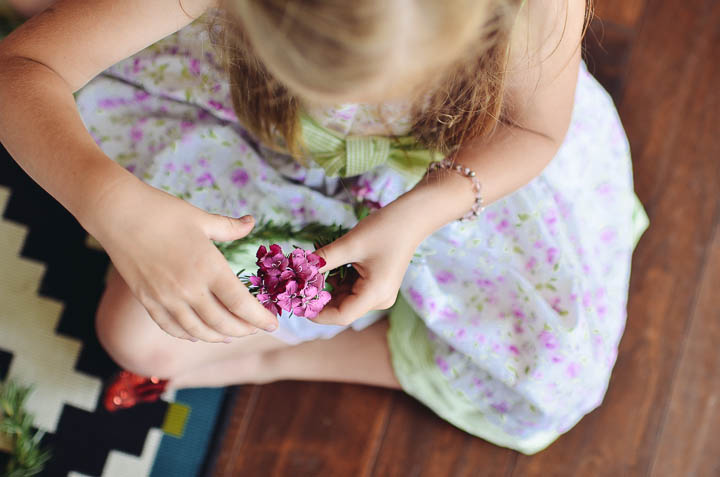
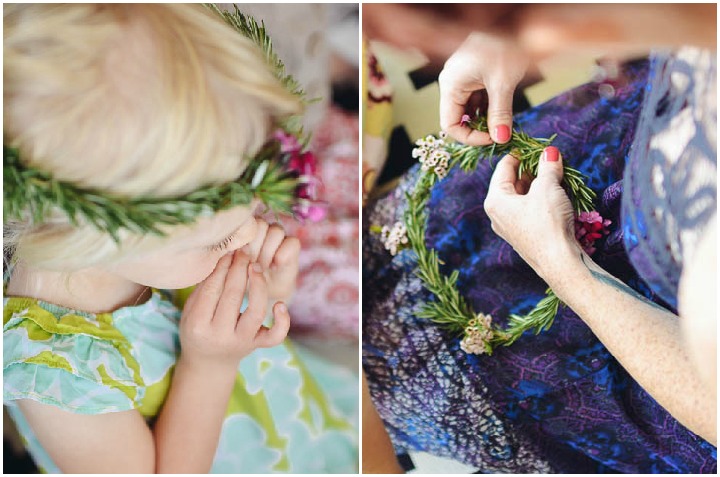
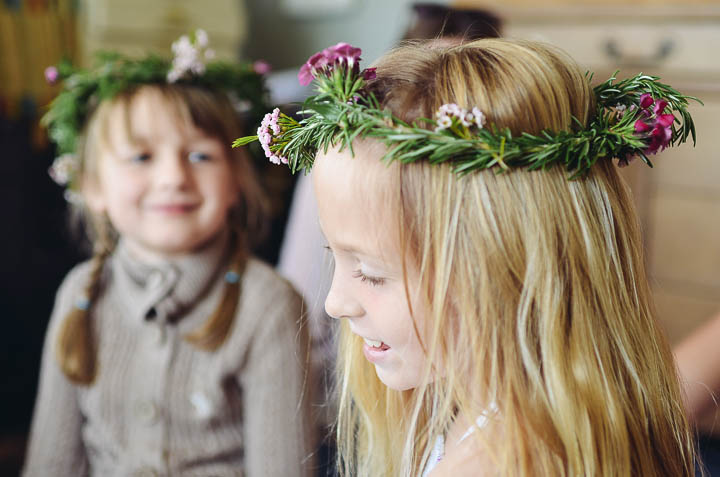
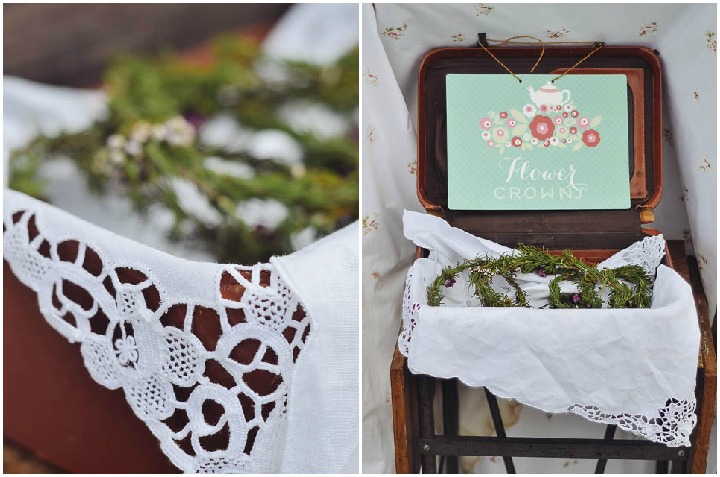
I don’t tend to love games at birthday parties, so Faith and I opted for having the girls piece together flower crowns from rosemary pieces and flowers around floral wire. I love the touch that the sign added to my display. Simple and beautiful.
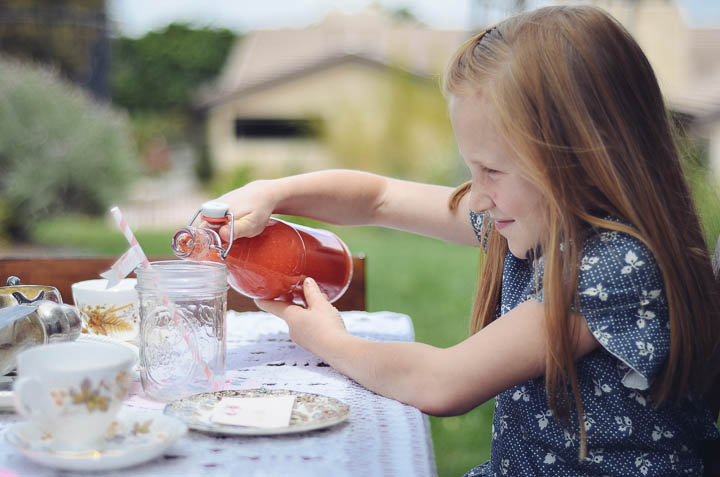
Here was our full menu:
Goat Cheese and cucumber sandwiches
Petit Fours
Blueberry Scones
Macaroons
Strawberry Lemonade
Raspberry Tea (Cafe Moto)
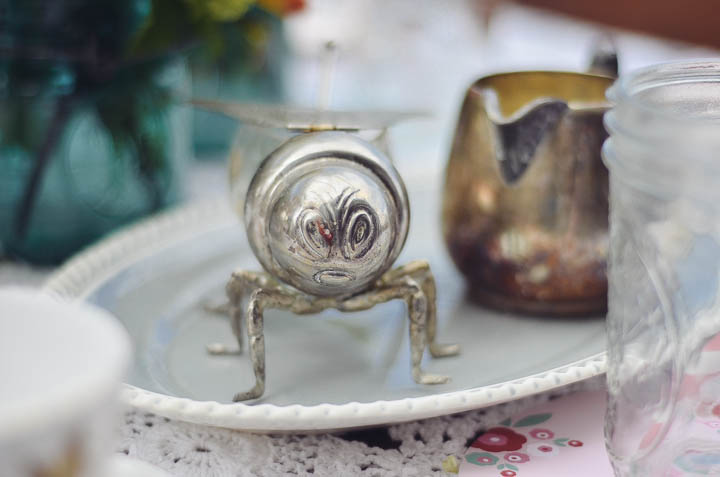

It was fun to play around with my friend Rachel’s new line of stencils. They worked out perfectly for our favor bags! Cute patterns, right? Check out more ideas and options for these adorable stencils on her blog, Handmade Charlotte. You can find the stencils at Jo-ann’s Stores or online at Plaid Crafts. I just bought some new ones to play with!
As a parting gift to her friends, Faith wanted to share her favorite raspberry tea from Cafe Moto. She filled the bags with loose leaf tea. You can find the empty tea bags on amazon here. We sealed the bags with the cutest scalloped stickers that are included in the Minted party package.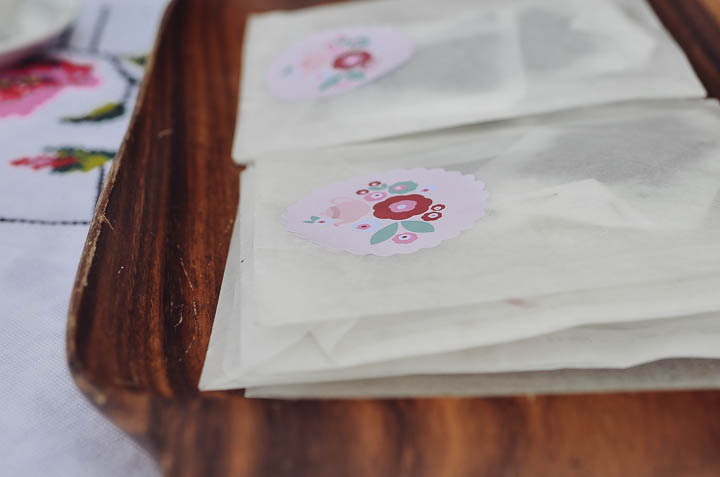
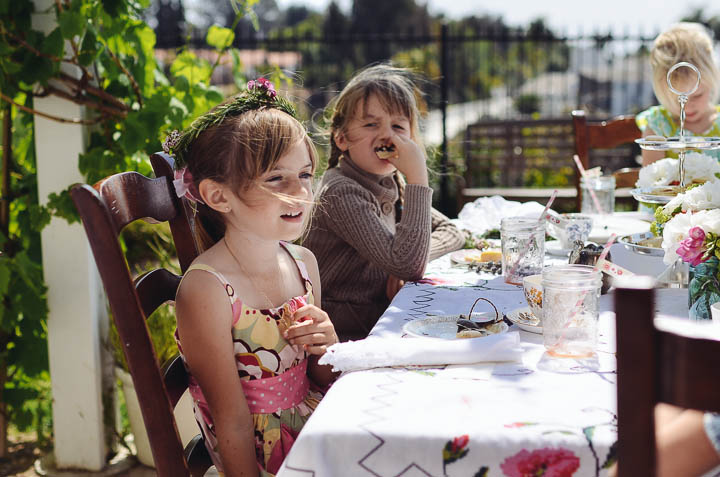
Tea Parties are the sweetest, aren’t they?
(I truly LOVE Minted products. The words above are my own opinion about Minted products. I did receive free products in exchange for my opinion and this post, but who are we kidding? Their products are amazing!!)
Stick around and find us on:
F a c e b o o k // T w i t t e r // P i n t e r e s t // I n s t a g r a m // E m a i l

(Instagram iphone photo. Follow our Modern Buttercream fun on Instagram here: @agoldenafternoon)
Faith is loving everything about cooking and baking. I’ve spent years training and teaching kitchen skills and I’m so excited to see the results!! We have a lot of fun together and I can ask her to do most things we do every day in the kitchen. Don’t get me wrong, it’s a LOT of work, but like most skills and character traits we are trying to nurture in our kiddos, I know it’s worth it.
Sometimes with our kids, I think we WAY underestimate their abilities. Faith has been in the kitchen for years, but it took me a while to realize I could take her learning to a new level. This year, I’ve been trying to take the time to teach a specific skill, like making pie dough or how to use a knife. This week, we are attacking cake decorating. Awesome.
Craftsy approached me about trying their FREE (say wha?) cake decorating classes, specifically Modern Buttercream, and sharing our experience. People, nothing seems to be FREE anymore so this opportunity is one to jump all over. I immediately thought Faith would LOVE to try this. I don’t necessarily think the classes are designed for kids, but part of taking a kid’s kitchen skills to a new level is teaching them to follow recipes and instructions, just as an adult would. Video Instruction is very kids friendly and that is what the cake decorating classes at Craftsy offer.
If you want to take this Modern Buttercream class with us, sign up below:
I think you’ll love it. You can go at your own pace, material lists are provided, and you can watch or re-watch as many times as you need to. Perfect for your older kiddos and really…all of us. Plus, it’s FREE, people!

Stick around and find us on:
F a c e b o o k // T w i t t e r // P i n t e r e s t // I n s t a g r a m // E m a i l
|
|
 (Faith with her attempt at making caramel apples in of her favorite Tea Collection dresses! She always wears this dress first, straight out of the laundry ;))


