Tenth Day: Photo Gift Tags

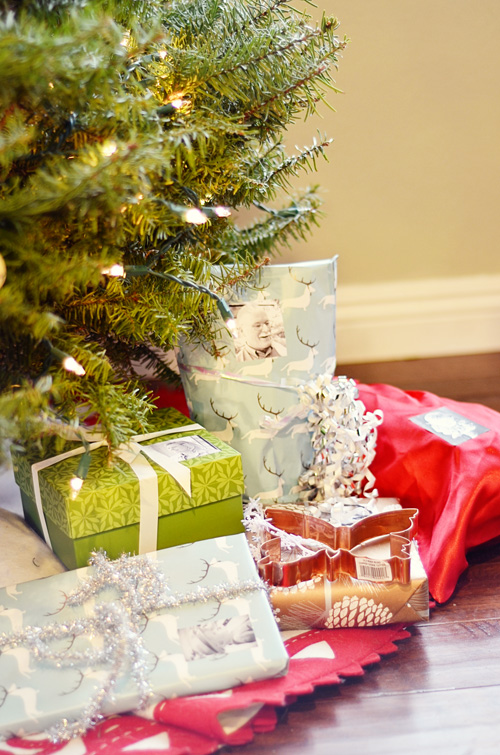
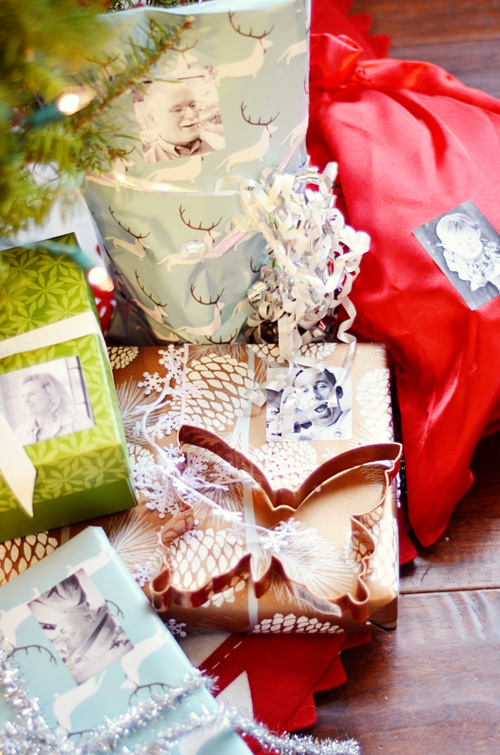
I saw this idea and immediately pinned it.  I thought it was crazy awesome and that’s all there is to it.  I added my own twist by printing the pictures onto sticker paper (found here) and just sticking them right on the gifts.  I really like the way they turned out once I convinced my printer to print something from Photoshop.  I think it’s great for kids who can’t read tags but want to help pass the presents out.

Now…to finish the rest.

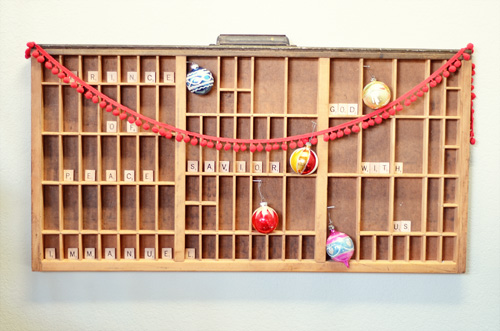
Ninth Day: Printer’s Tray Christmas Display

I’ve had a long-time plan for this drawer.  Besides being a spool/thread holder in the off-season, this big guy provides a variety of options for year-round display.

I finally pinned the pictures I’ve seen over the years on blogs to my Pinterest to a very creatively named board called “printer’s trays“. I like this one for advent which I’d love to do next year, this one for Lego which has long been on the list, one here for jewelry, and one here as an art display.  All quite lovely and I’m excited to keep changing it up.

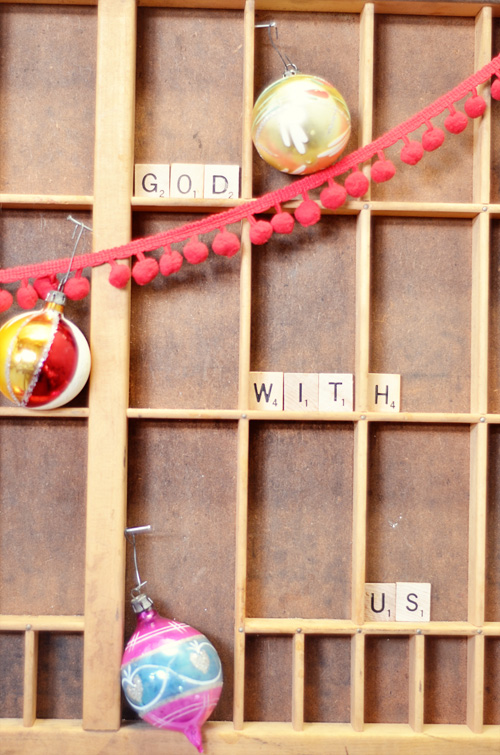
In the meantime, I threw a few of my vintage treasure up on mine in the form of my Grandma’s ornaments and scrabble tiles.  Next year I hope to swap the tiles for a piece of paper representing each day of December before Christmas.  I like the idea of marking every single day with some sort of action as a family, hopefully selfless actions.

I also like the idea of reminding ourselves all through-out the day of what Christmas is truly about.

So…

…I put ours in a place we walk by every day so we will always remember why it’s called

CHRISTmas

Eighth Day: Fleur de Sel Caramels

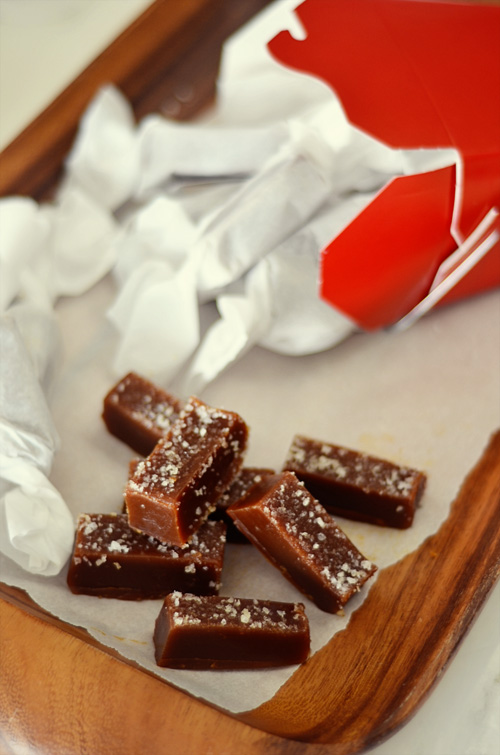
Caramel is one of my very favorite things.  Even more than plain caramels I love salted caramels and goat’s milk caramels.  I love the creamy vanilla flavor with the bite of the goat’s milk. Yummy.  I don’t know why I don’t make them very often, but I’m glad I did this Christmas.  I saw this pin and knew I wanted to make the salted caramel variety.

Double.Yummy.

Maybe I love caramel because I’m not really a fudge person.  I think I started making fudge so young that it’s become a little too “been there done that” and unexciting.  No offense, fudge people…not my thing.  I don’t crave it.

I am not posting the recipe because I didn’t alter it since it is candy.  I didn’t make the recipe my own and wouldn’t support making something with corn syrup on even a semi-regular basis anyway.  But, who are we kidding?  Caramel is sugar so it’s not really good for you either way.

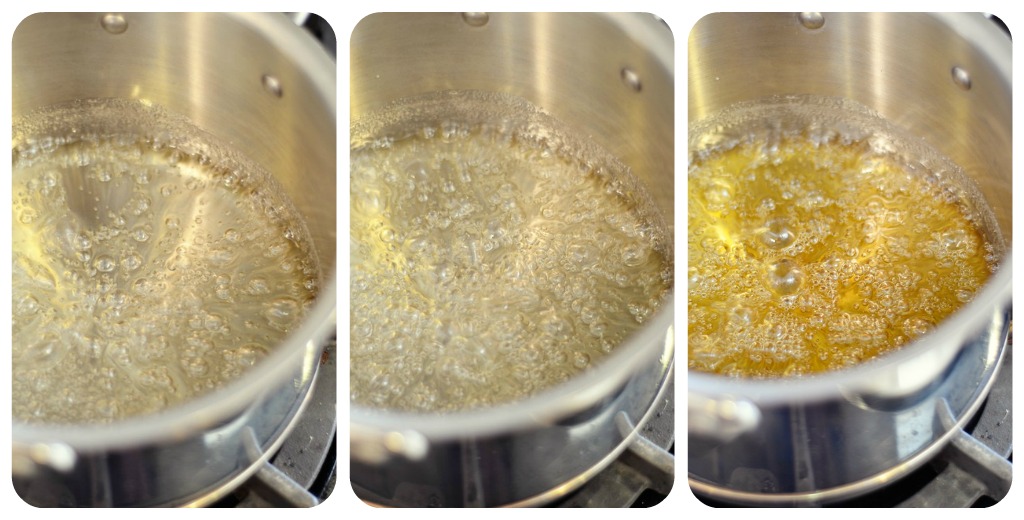
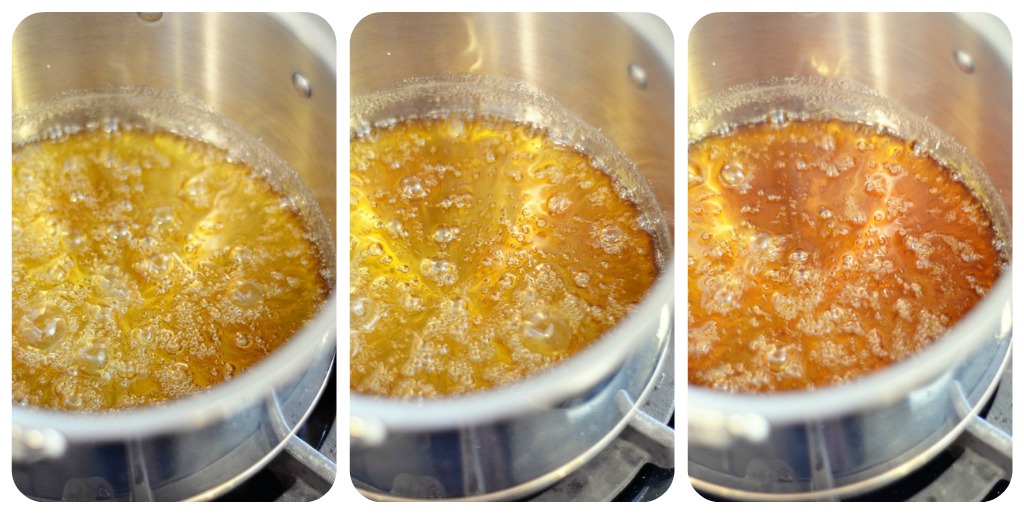
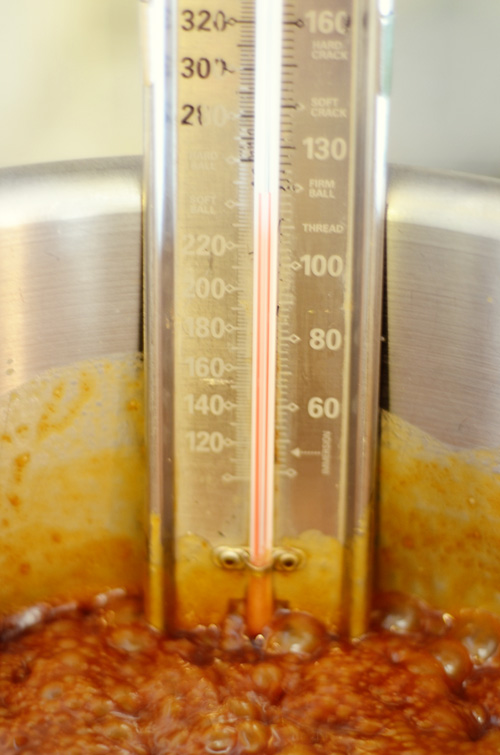
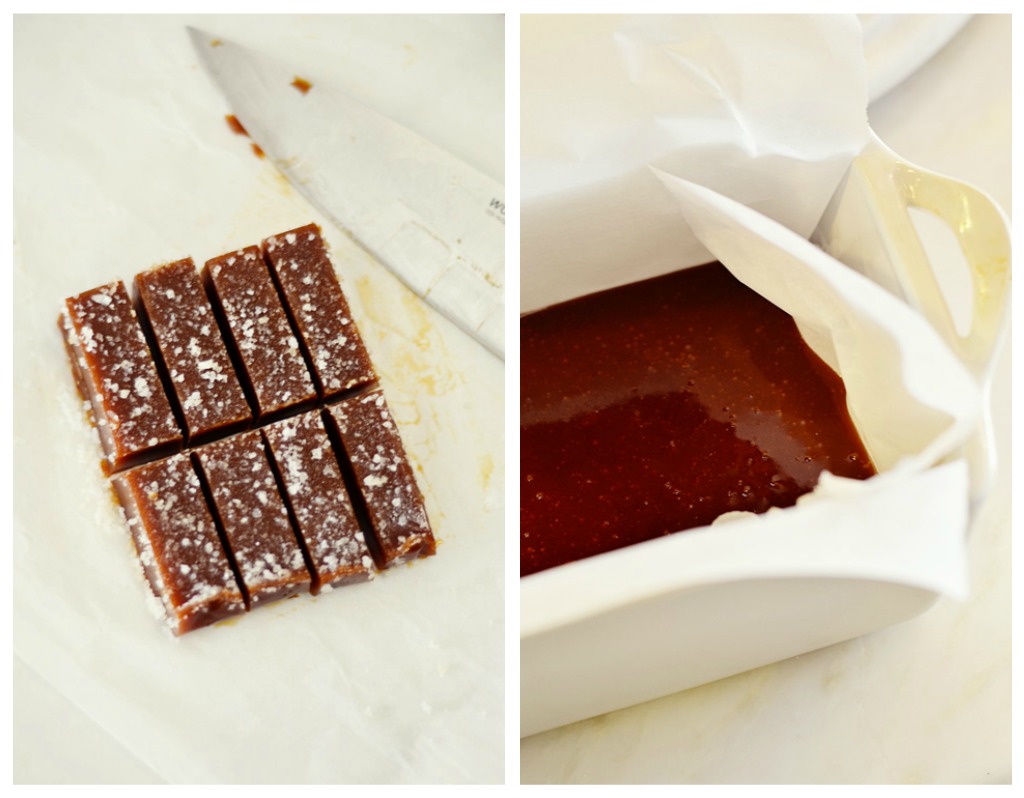
I am however providing a visual of what the colors look like at various stages.  I love kitchen science.  I feel like Harold McGee would be proud of the science in these pictures, I think.

It’s hard to wait, but it does happen

“Firm Ball”=perfect caramels.

You could choose any salt, I suppose, however the lighter and more flaky it is, the more likely it will melt in your mouth with the caramel.

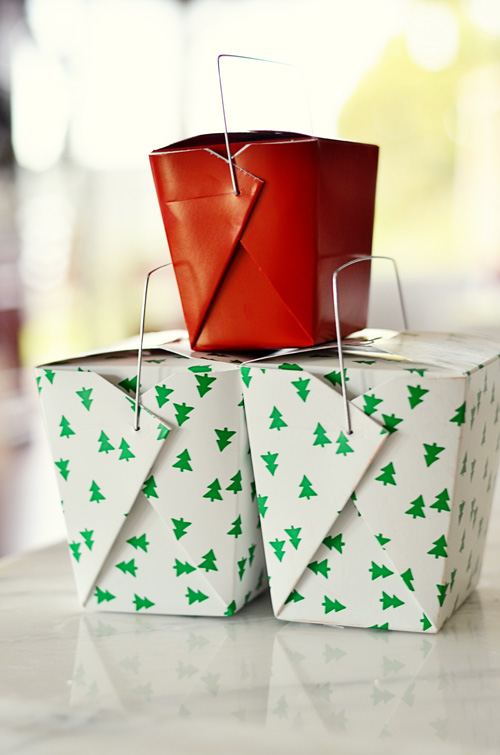
I wrapped mine in parchment to make them extra-adorable and also to limit myself on servings.  Actually, I just gave them all away and that very much limited my servings.  I would have eaten all of them.  You can find these cute take-out containers for $.99 at the always awesome, Container Store.

Make anything fun…post it here…

Seventh Day: “Found” Pine Cone Garland

Have you noticed lately, that the word old is being replaced with the word “found”?  I noticed it first in a Pottery Barn catalog a few years ago when they were starting to bring the salvage look back because it was coming to new life again.  They started selling items called “found” items which were actual vintage pieces they had “collected” on their own.  My first thought was, “Hmmm”.  My second thought was, “Who charges that much money for things you buy at garage sales?”.  I know that salvage is popular with people who had never been actual purchasers before but I’ve already gone off on the subject before.  I still find it interesting that people pay Pottery Barn money to do something for them that is actually really fun and will sometimes just cost you a few smackers instead of 80.

Over the last few years, I’ve been having my kids find (literally…not just a cool sounding Pottery Barn word) pine-cones so we can save them for Christmas and I can make something cool.  Last year the time past and it never happened.  When it hits the 2 week mark before Christmas, I tend to switch gears from decorating to gift-making.  I’ll make tags, last-minute add-on gifts (you can never give too many handmade gifts), “can” something to gift, make cookies for the neighbors, or make cards for special people in our lives.

That list may sound like a lot (or maybe it doesn’t to you), but I do it WITH the people I love, too.  This project I got to do with my friend, Leah.  It’s so nice when you get to hang out with a friend and talk about everything you can think of but also make something to you can take away from the day to remember the laughs but also the pains in our thumbs from screwing the hooks in the pine-cones.  Mine are still a little sore, but it was worth it for the company.  Plus, my friend often travels with muffins.  Super-bonus.

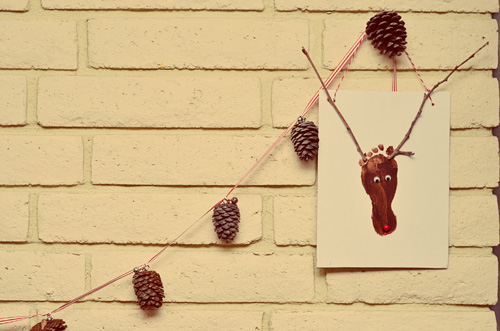
The garland looks cute next to the reindeer foot “portraits” my babysitter did with the kiddos.  Great idea, Brandi :)

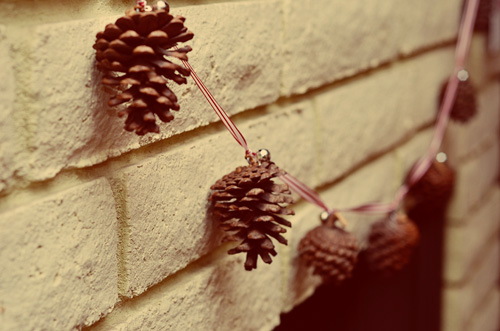
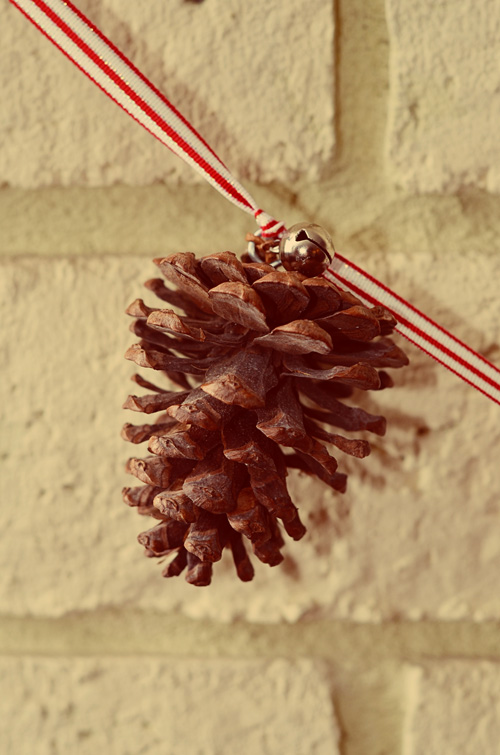
We made the garland based on this pin.  That pin was way too complicated for my interest at the moment.  We decided on something simpler like another garland we saw where the pine-cones had hooks screwed into the tops and then they were strung on a ribbon.  The search box is apparently gone from Pinterest so I can’t find it at the moment.  I only had picture frame hooks, but they seemed to do the job with a little elbow grease and sore fingers.  I couldn’t help but add a jungle bell.  It just felt right.

I’m hoping to give it to my mother-in-law so she can decorate her coach that is visiting us here in San Diego.  She is always away from home on Christmas, so since her traveling home will be here, I though we could give it a little festive flare!

Are you making anything handmade for your Christmas gifts this year?


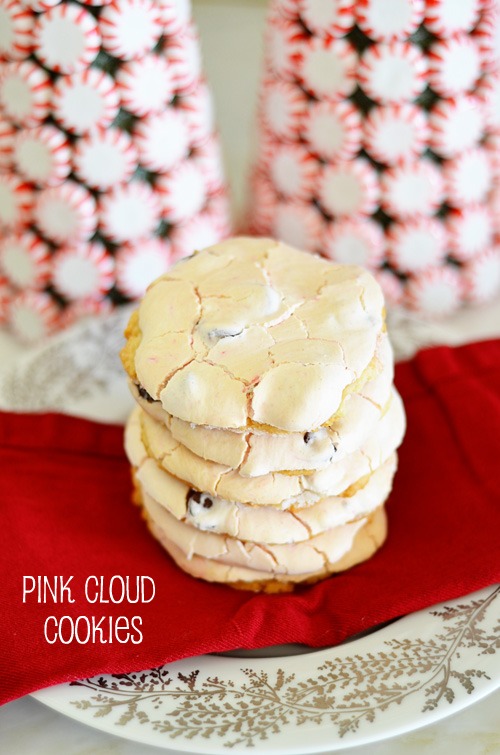
Sixth Day: Peppermint forest + Pink Cloud cookies

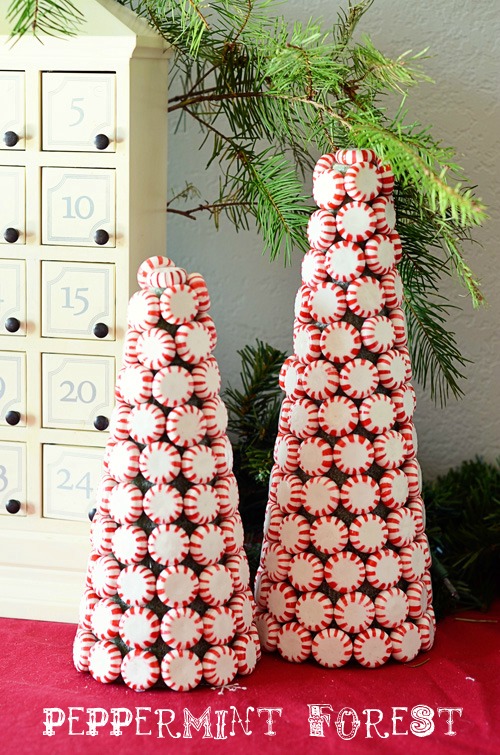
You’ve probably seen that one super-cute peppermint wreath floating around Pinterest.  I love the simplicity of it and that you only need glue, peppermints, and a wreath form.  I had planned to make one, from this pin, but then I watch “Elf”.  I’ve said before that if you haven’t seen that movie, you most definitely should.  It’s one of my favorites.  So, I was listening to the description in the movie about the candy-cane forests and I thought to myself…I think I need one of those. I need a candy-cane forest.

Right away, I put my little elves to work on the unwrapping of the peppermints.  It’s a GREAT job for kids, it only costs you a few peppermints in the process (snitchers).  We kind-of made it a race where I glued them while they unwrapped them.  You add some Christmas music and it was pretty fun.  You just buy a foam tree from a floral supply place or a craft store (San Diego, you can find these at Michael’s), you glue them on with a hot glue gun, and wait for it to dry.  The only tricks I learned were to start at the bottom and always keep a portion in the back that is your “sloppy” side.  The shapes just can’t meet up every time so I think  it’s a good idea to leave yourself some room to mess up on that back portion so you aren’t using a pill divider to slice your peppermints to fit.  I’m sure there are people who do that, but I’m not that crazy.  I’m sure you could paint the tree the correct color so it doesn’t look “off” but this is only 1/12 Pinterest projects.

Peppermints are special in my family because they are the heart and soul of the best Christmas cookie on the planet, The Pink Cloud.   We have been making this cookie for as long as I can remember.  Apparently my Grandma found it in a magazine a long time ago and we’ve been making it ever since.  I can’t remember it not being here. In fact, it is a requirement for tree decorating.  My mom always made decorating the tree into a little party.  There was always Babybel cheese with crackers, salami, eggnog (which I found out as an adult my mom never liked), and definitely Pink Cloud cookies.  I faintly remember that ball of cheese that’s rolled in nuts, but I could be wrong.  There has been stress, time crunches, a lack of ingredients, sickness, and tears, but nothing has kept us from our Pink Clouds for the process of decorating.  There would be an empty tree all year if there were no Pink Clouds.   I may or may not be leaving the recipe below, you’ll have to keep reading to see if it’s there at the end!

Here is our tree hunting for 2011.  We never leave our personalities behind in this family:

We all agreed on the one to the right of us.  It’s nice when it works out that way.  I feel terrible, though, that for the first time ever in his life, our dog was forgotten.  Poor guy has been in every Christmas tree photo for his 8 Christmases.  Sorry, Leonard.  We still love you.

Back to those cookies…I’ll give you the original recipe, but my sister and I don’t actually use the cookie dough part anymore.  I gave up shortening and try to stick with butter, but it does make THE best pink cloud cookie :).  You can basically use any sugar cookie recipe to suit your tastes.  This year, I tried Alton Brown’s recipe and didn’t really love how it worked out.  His cookies are really great, just not paired with the meringue in this recipe.  They were a little too crispy.  I must admit I really miss the old cookie dough/meringue combo.  Maybe my Mom will make them.  Are you listening to me, Mom?
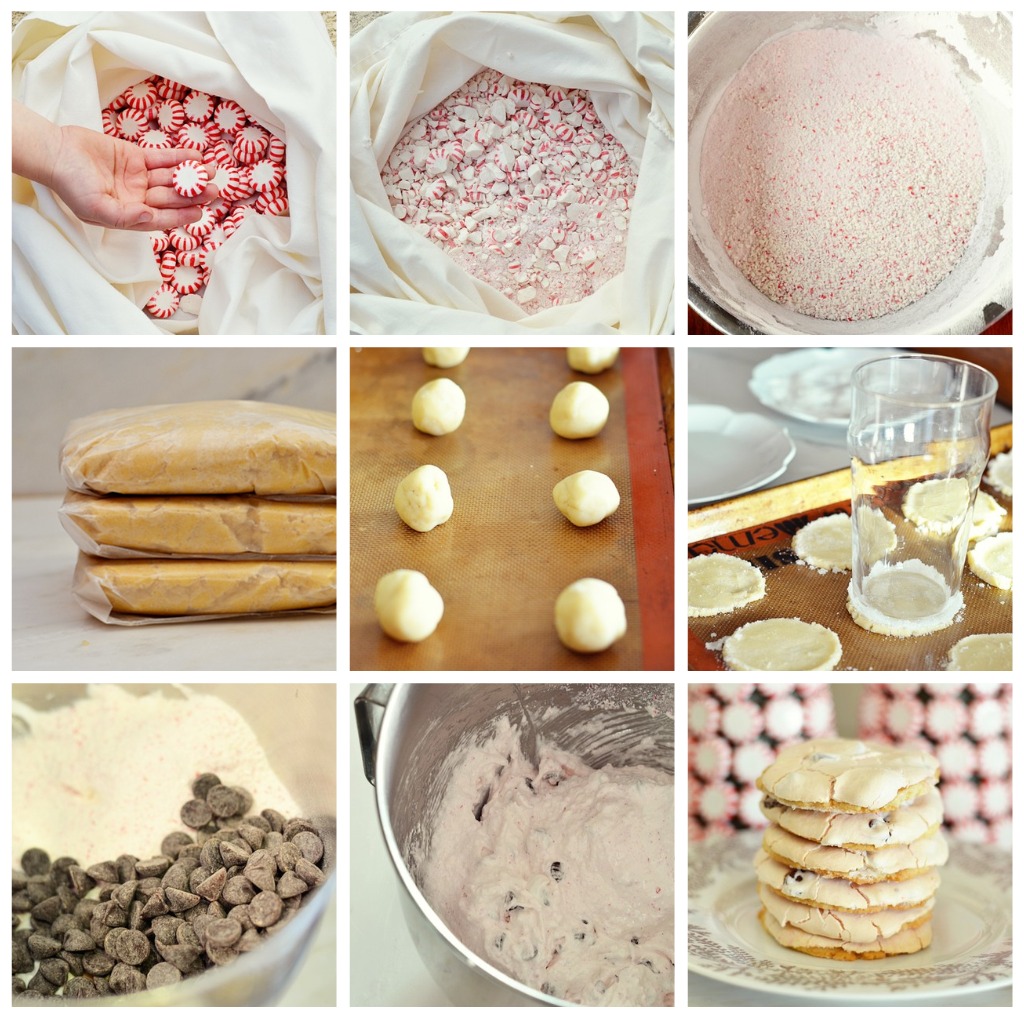
Pink Cloud Cookies

cookie dough:

3/4 c. sugar

2/3 c. shortening

1 tsp. vanilla

1/4 c. milk

2 eggs yolks

2 1/2 c. flour

1/2 tsp. baking powder

1 tsp. salt

peppermint merinque:

2 egg whites

1/4 tsp. salt

1/2 c. sugar

1/2 tsp. vanilla

1/2 tsp. white vinegar

1 c. semi-sweet chocolate chips ( I usually sub 60% cocoa here)

1 c. coarsely crushed peppermints (not candy canes!)**

In a large bowl, combine the cookie dough ingredients.  Blend well with a mixer.  Chill while making the meringue.

Beat egg whites in a bowl with salt till soft mounds form. Gradually add sugar.  Continue beating until stiff peaks form.

Fold in the remaining ingredients.  Shape dough into balls (small walnut size-this is no joke!).  Place on a ungreased sheet.  Flatten with the bottom of a glass, dipped in water and sugar (alternating water then sugar between cookie squashing to help the dough not to stick to the glass).  Top each cookie with a rounded T. of meringue.  Bake for 20 minutes at 325 or until the sugar cookie is just barely golden.

**To crush the peppermints, I put mine in an old but sturdy pillowcase and hammer away.  I put my crushed pile through my colander to make sure I don’t have huge pieces.  If I had a sturdy canvas bag that didn’t “leak” fabric, I would use a canvas bag like my mom has.

Page 32 of 50« First...1020...3031323334...4050...Last »