 (chevron heart garland printable below) (chevron heart garland printable below)
I probably shouldn’t start of this post by saying, I don’t really like Valentine’s Day. But, it’s true. I don’t like the commercials advertising the most ginormous teddy bear you will ever see that comes with enough red roses to fill your living room. I don’t like the boxes and boxes of candy lining 4 aisles at target, giving off the impression that candy is just as important as shoes. I don’t like the fact that many people who rarely go out to dinner, somehow decide that for this one day in the year, they will suck it up and eat with only their spouse and nobody else.
That being said, I do like the idea of Valentine’s Day, as it was intended in some early pieces of literature. I love the idea of Valentine’s Day being a continuation of a tradition started as long ago as 1477 (the first recorded valentine is still around and can be found in the British Library). It wasn’t a letter from a man to a woman where he proclaimed his desire to buy her as much candy as he can or the same roses that everyone else is getting on that same day. It wasn’t even to say “I love you”. It was true sentiment and affection, brimming with respect and admiration. There would have been a lot of love and appreciation there too.
All of this to say that I appreciate meaning. I like the little things we do, even around Valentine’s Day, that have meaning behind them.
I do, however, love a good sappy movie. How’s that for confusing?
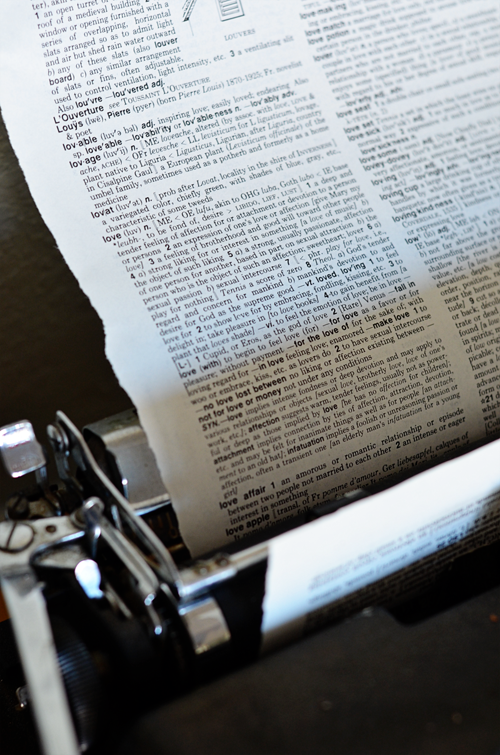 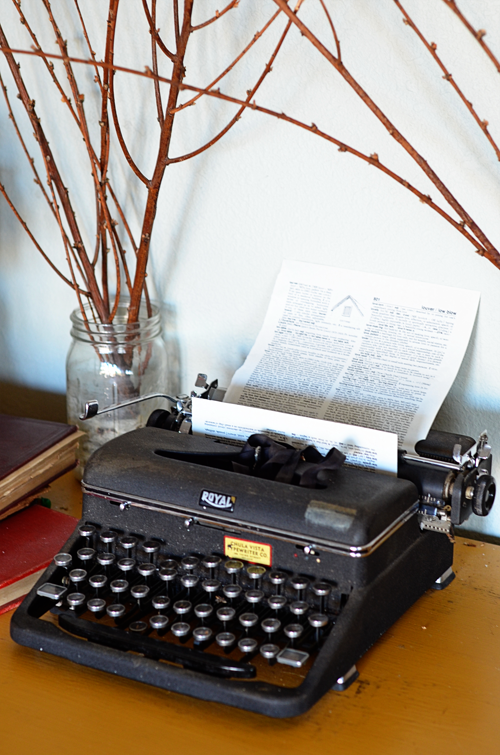
Last week I got a really great old dictionary for $1 and I was anxious to use it. No, I don’t mean to look a word up. Naturally, I wanted to cut it up and make it into something. That’s what everyone does, right? So, I ripped out the page with the definition of love. I guess I really did look a word up…technically.
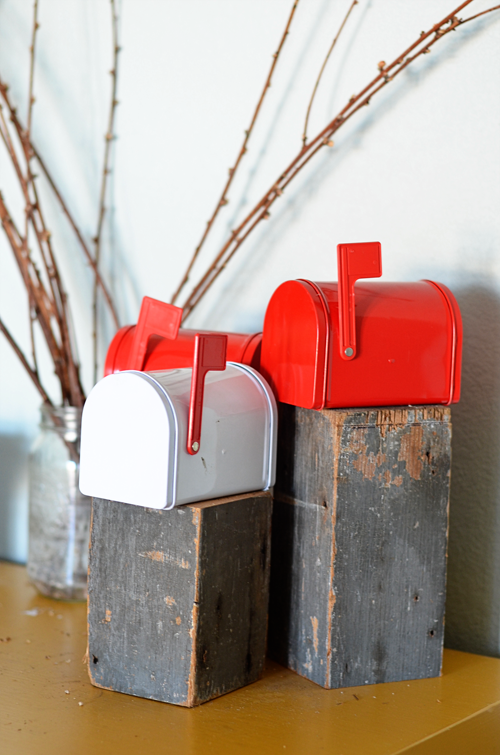
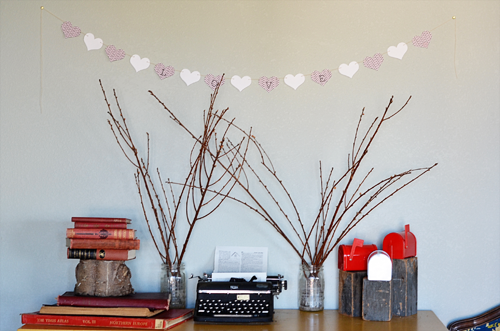
Right now at Target, they have these cute little metal mailboxes on the dollar rack. Score for the Mama. Now the littles have a cute place to put their cards and sentiments.
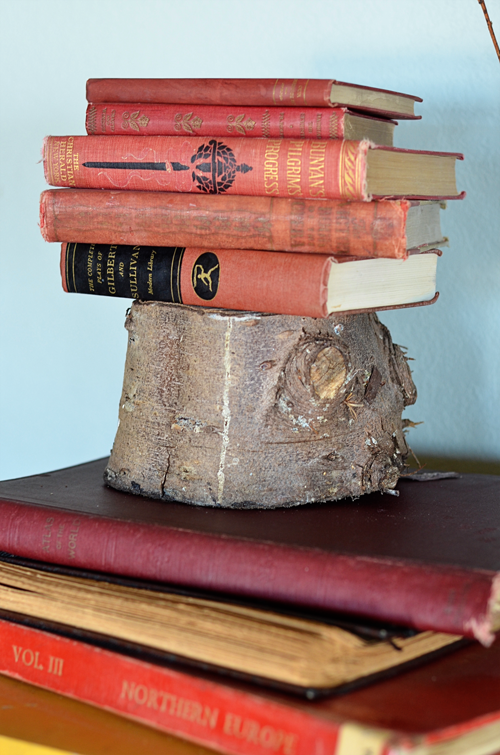
Every year at Christmastime, I put all of my red books together on a shelf. I kinda like them. I leave some of them around for V-day, too.
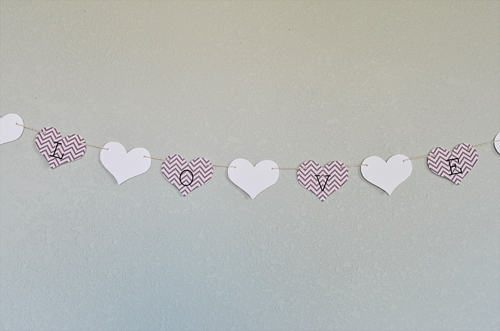
This year I decided to design my own garland. I’m loving chevrons right now so I combined them and hearts to make this garland. It’s an easy way for you to make a V-day decoration without leaving home to buy supplies. The printable is also easy for kids to cut out.
Print on a letter size piece of white/cream cardstock.
Before you cut, see instructions below.
Download here:
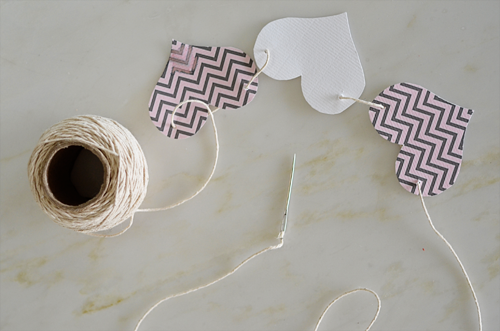
After you have the garland printed out and before you cut it out, place a blank piece of cardstock underneath the printable.
Cut the 2 pieces of cardstock together.
This will give you the chevron hearts from the printable as well as some blank white hearts to space the chevrons with.
After that, I fed a string through one side, passing behind, and coming back through on the other side. You could use a giant needle or a big plastic one if you have kids helping.
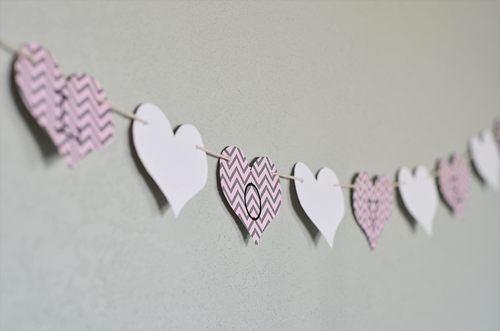
Send me some pictures when you get yours hung!
For more Valentine’s Day ideas, check out my Pinterest board of “L.O.V.E“.

If you’re tired of pizza, try calzones.
In our house, we love to make pizza. Pizza to us usually means a movie. Our kids don’t really watch TV, so we like to have a family movie night every once in a while to hang out and enjoy a good flick. Lately, we’ve been watching the LIFE series, which sounds super nerdy to do as a family, but we LOVE it. It really solidifies everything we are learning in school. Plus, it is pretty incredible to see the things God has made which we wouldn’t otherwise be able to see. God Rocks! Seriously.
Beats them watching Phineas and what’s his face…just my personal opinion.
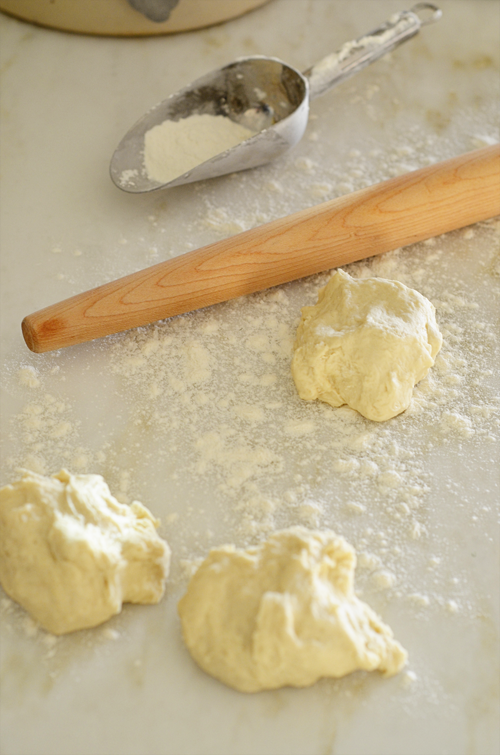
Basically, a calzone is a pizza hand pie, so you can fill it with whatever you want. Start with a pizza dough recipe. Here is one if you don’t have a reliable one. If you don’t want to make your own dough (even though it’s super easy and you will be so happy with yourself when you try), there are many stores that sell ready-made pizza dough. Look for the kind with a few ingredients and no preservatives (Trader Joe’s has one) and just try to stay away from anything that pops out of the can like a cinnamon roll.
Divide the dough recipe into 4 parts. If you are making them for kids, you can divide it into 8 parts. Roll each part out into a square until it’s about 1/4 inch thick. If it’s too thin, it will cause leakage. Leakage is no bueno in calzone world.
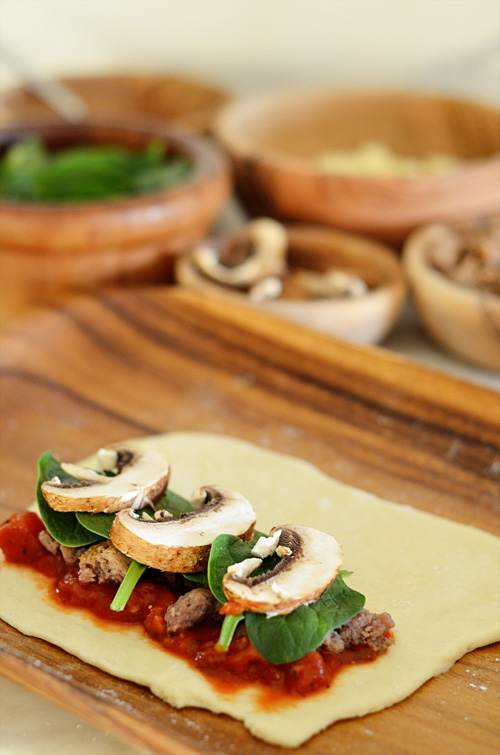
When it comes to little ones and food, I have learned that they are more likely to eat something if they help to make it themselves. For these calzones, I like to put all the toppings in little bowls and let them pick what they want. Also, if you only offer healthy options, they are more likely to pick a few of them by default. We like chicken or turkey sausage around here. We have a few great local places here in SD, like Da Le Ranch meats and Homegrown Meats. You can find a really tasty Italian chicken one at Trader Joe’s if you don’t have local resources. I had previously used the Jenny-O turkey sausage but I’ve officially scratched them off my list as I think there are better options for us now in the meat department. I think we should try to find the happiest chickens and turkeys possible so they can be the healthiest for our bodies.
Great ingredients are:
zucchini
tomatoes
spinach
chicken/turkey sausage
prosciutto
mushrooms
mozzarella cheese
fontina cheese
red onions
olives
grilled chicken
peppers
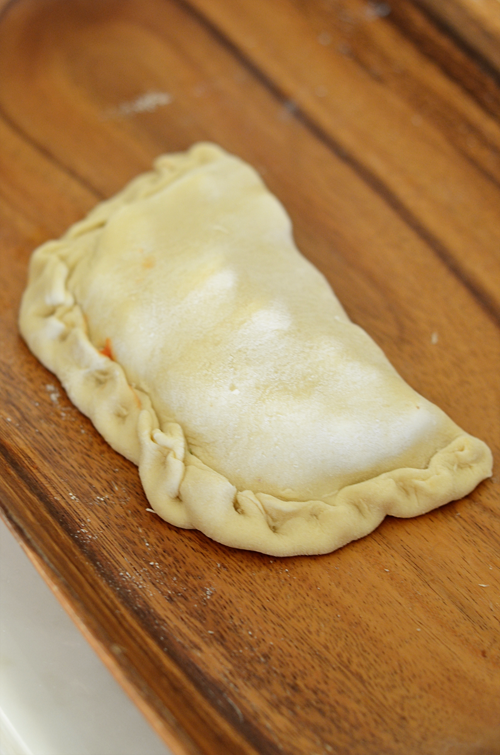 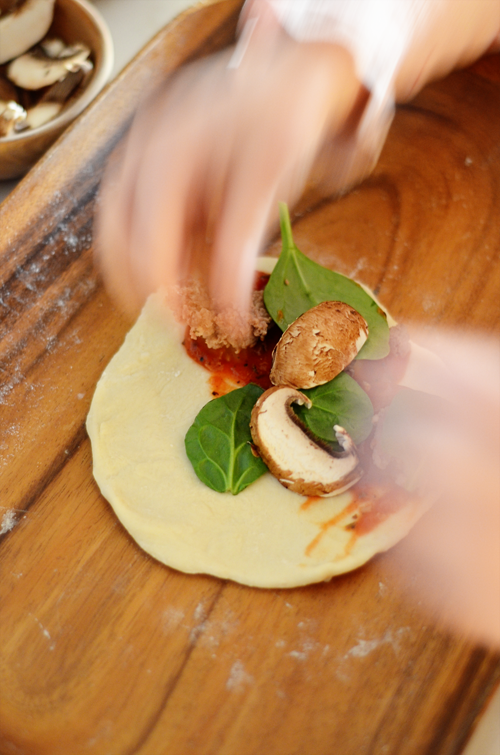
Place the ingredients on half of the dough. Try to leave about a 3/4 inch space around the edges when you are filling them. If they get too full, they might explode…just ask my husband. Then, fold the dough over and pull the bottom edge up over the top. Press down the edges to form a seal. Brush the tops with an egg.

Just for effect (and a little extra flavor), I like to sprinkle some dried herbs and graze some parmesan on the top. Bake at 500 degrees for about 15 minutes or until browned on top.
I HIGHLY recommend these family movies if you haven’t seen them:
Secretariat
Dolphin Tale
Tangled
Then, you can eat calzones while you watch your movie.
Also, maybe turn off your phones and try not to play words with friends or check your Facebook for the 25th time that day. I know it’s hard, but Your kids will love you for it. Just try it. You might love it too.
Stick around and find us on:
F a c e b o o k // T w i t t e r // P i n t e r e s t // I n s t a g r a m // E m a i l
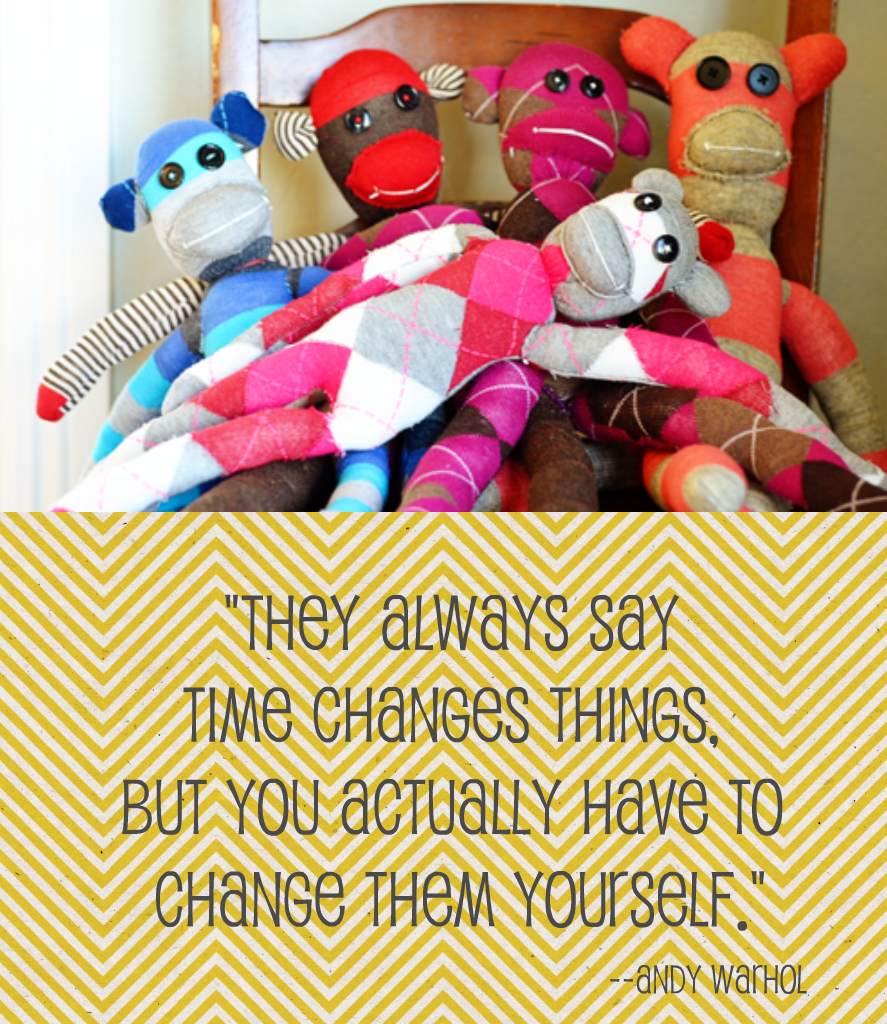
Back in November, some friends and I got to participate in Project 15 of Craft Hope. I totally forgot to post the finished pictures until someone asked about them the other day. I have to give my friends great credit for joining in one of my crazy projects. Whether they had sewn before or not, these ladies agreed to make a sock monkey none of us had made before and then give it away to someone who had just had their house burned down in Texas.
I have cool friends.
For those of you who don’t know Craft Hope (and Jade who runs it, it is a WONDERFUL organization that reaches out to different suffering areas of the world through handmade projects. It might be a natural disaster or burn victims, but they are all people in need and have had their world tipped upside-down. Each project is directed at a certain need, this last project being sock monkeys for victims of the crazy fires in Texas last year.
Check the site today for a new project! We’ve all been on the edge of our seats waiting for this announcement!
It’s funny how helping can be so fun, isn’t it?
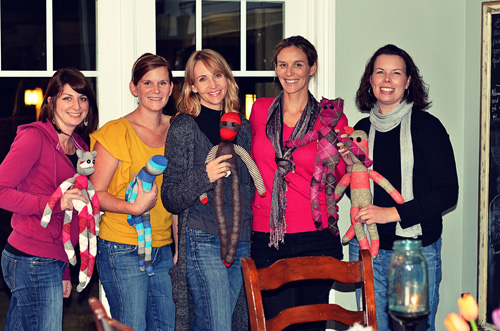
Melissa, Me, Diane, Jessica, Jennifer, and Leah (who missed the group photo. sorry :/)
We worked from 7 until midnight, but only finished parts. Actually, Melissa finished hers (Yahh!). Mostly, we laughed a lot and drank wine which is always a good time. We followed this tutorial which has great step-by-step photos.
A big thanks to my sister for helping to finish eyeballs, ears, noses, and mouths during Thanksgiving to get ‘er done! :)
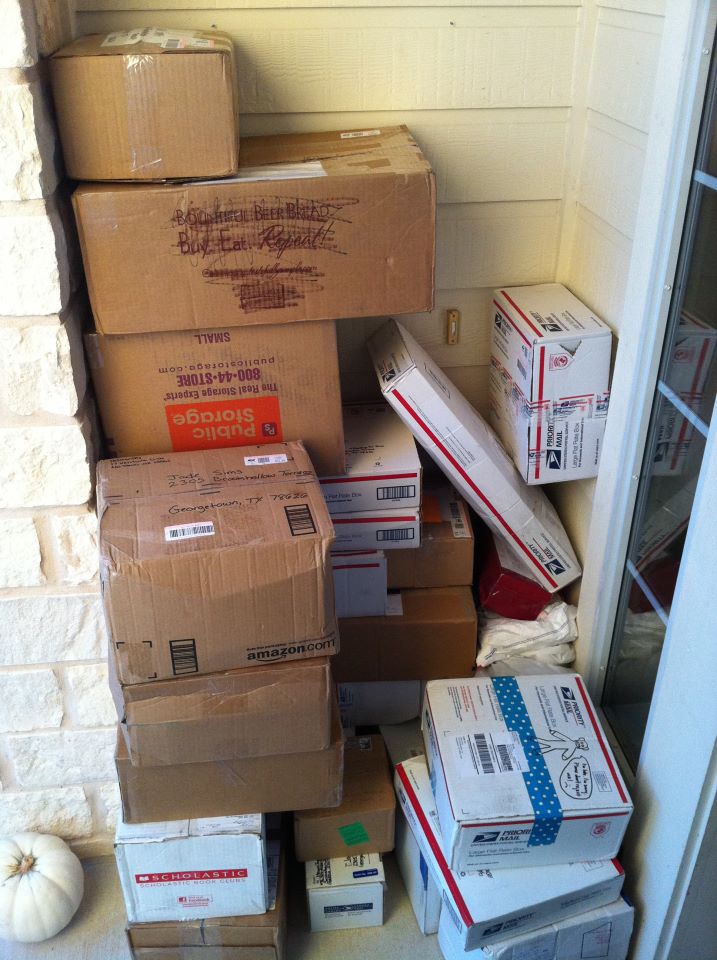
Our box at its first destination. It’s the one with the blue polka-dots and the sock monkey on the front.
(picture from crafthope.com)
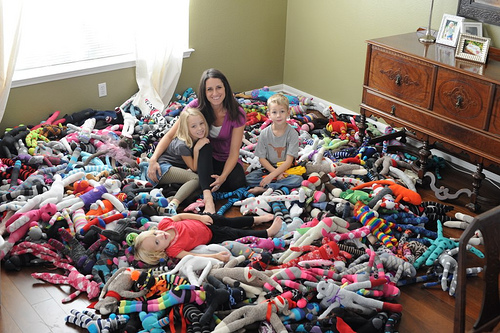
The whole 300+ sock monkeys ready to go into loving arms! It’s SO great to have been a part of that!
(picture from crafthope.com)
Back in the very very beginning of my time of writing posts here, I made vanilla extract. It was a wonderful experience. No, I’m not weird for thinking that. The reason it was so wonderful was because it was SO easy. I love replacing things that I buy at the store with homemade versions, but even more than that, I love it when they are EASY projects. I do have to warn you that you will probably never buy it again if you make it. That’s probably exciting for some of you, but there are others of you who will be doubtful of it. If you were a vanilla snob already and are used to forking over $19 for the big Nielsen-Massey vanilla bottle (although my mom has given some to me in the past that she found cheap somewhere…thanks, mom). If that is you, this will definitely save you some big bucks. If you typically buy the grocery store brand of vanilla that is “imitation” and usually doesn’t contain alcohol, this will not save you money. You should still make it, though, since that imitation stuff is pretty yucky.
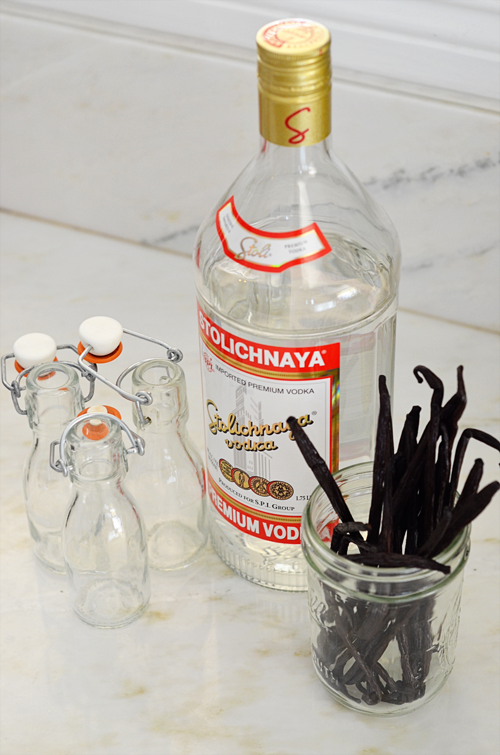
The only ingredients are:
Vanilla Beans (2 for every 1/4 c. vodka) & vodka
I followed this site again in their recommended ratio of beans to vodka.
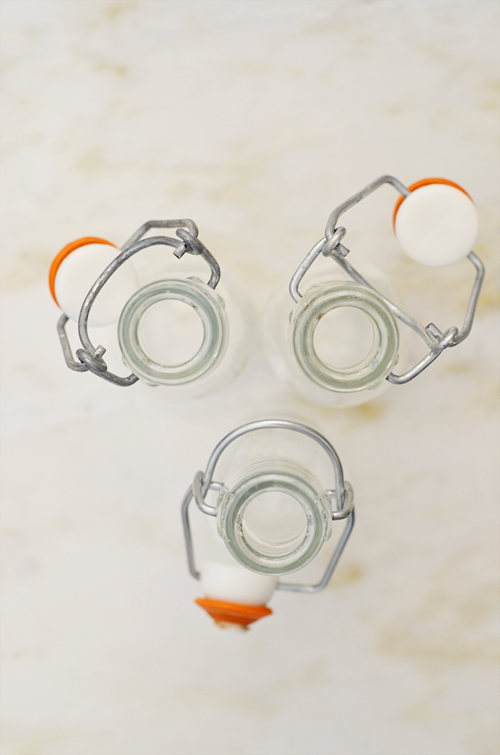 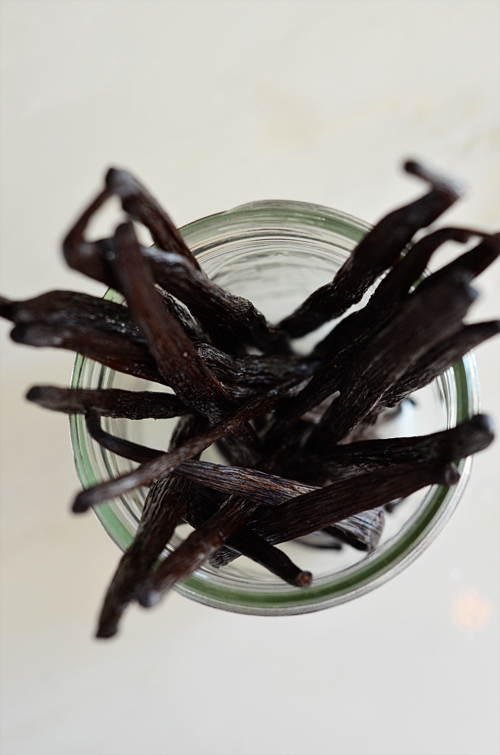
I got these perfect size little bottles at The Container Store last year and they would be perfect if you can find them. I went this year (during the annual awesome wrapping paper extravaganza) and they didn’t have any. UGH!! I search all over online and nobody ships this size. The will ship one that is 10X as big, but not this teeny tiny one. So weird. This year I decided to try the cheaper beans from Trader Joe’s which are $4 for 2. Trust me, that’s a deal compared to $14 from McCormick’s at the grocery store or $8.50 for the Nielsen-Massey.
 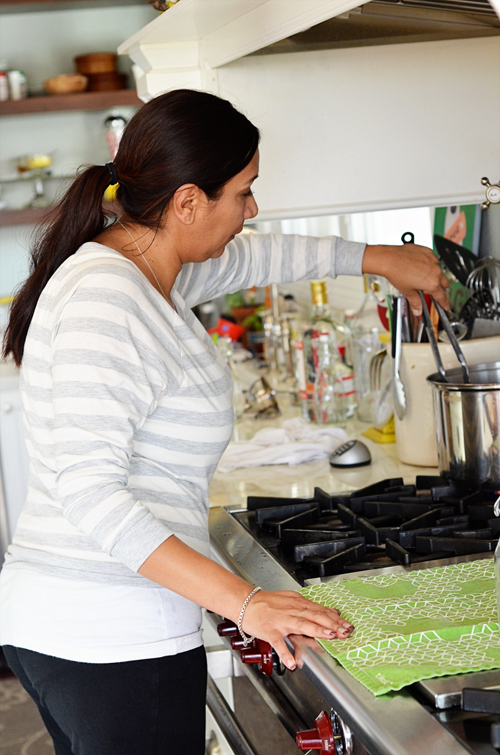
Before you start, sterilize the jars in boiling water for 8 minutes. Erica is doing an awesome job showcasing this :).
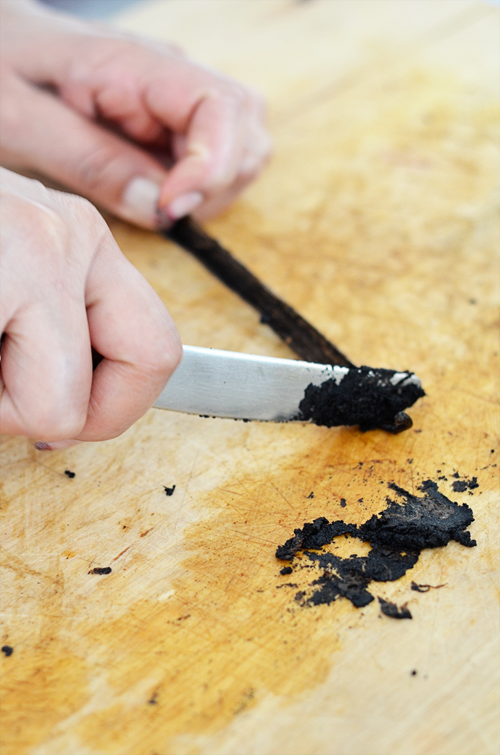
1. First scrape the beans. If you slice the bean down the middle without going through the bottom layer, you can peel it open and get a good, clean scrape.
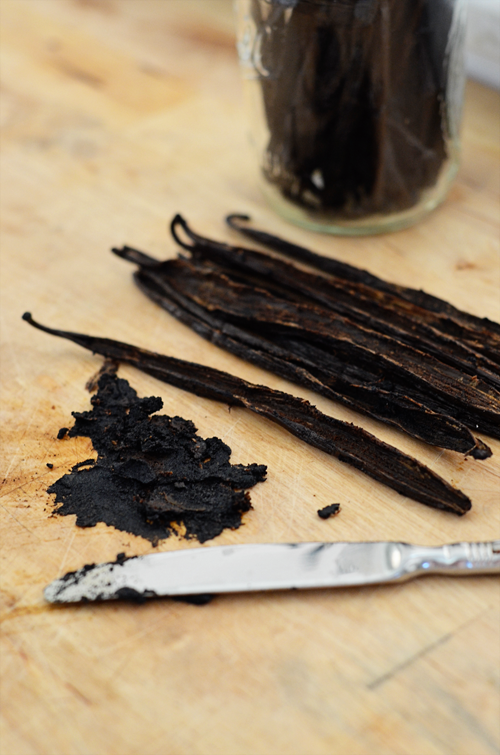 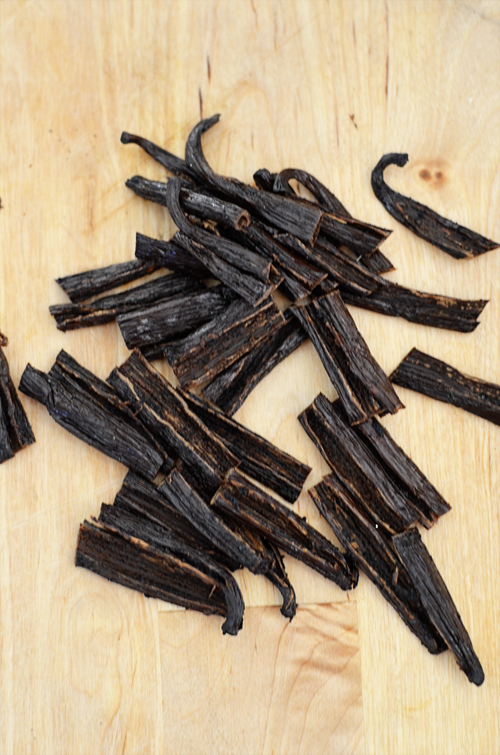
2. After a the seeds (called caviar…love that!) are removed, cut the beans in about 1 inch pieces. They will not float to the top if they are smaller pieces.
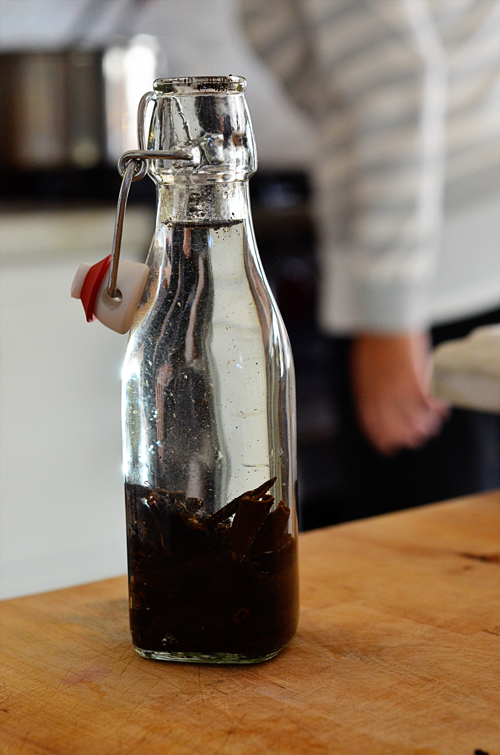
3. Measure your liquid space in the jar by using water first. Once you know how much liquid you need, you will know how many beans to use. For example, I used a cup of vodka in my jars, so I placed 8 beans inside.
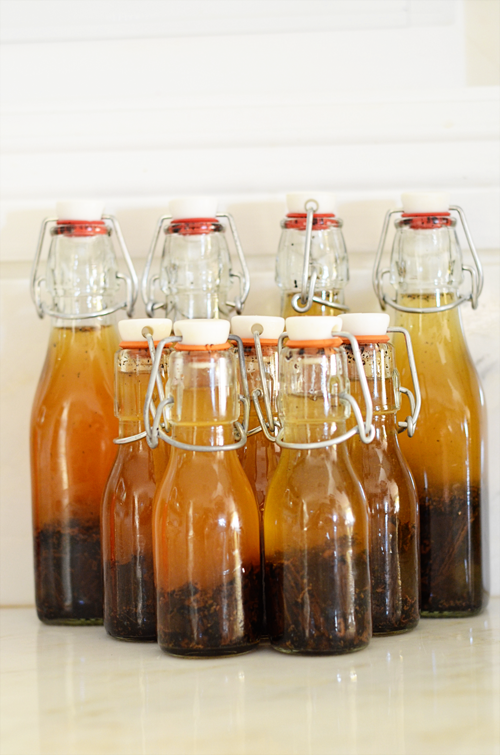
4. At first the bottles will just look murky, but as you shake them every day, the fluid will get darker. For the first few days, shake them a few times a day. After that, shake them once a day for 2 weeks. Then, you can shake them only when you think of it.
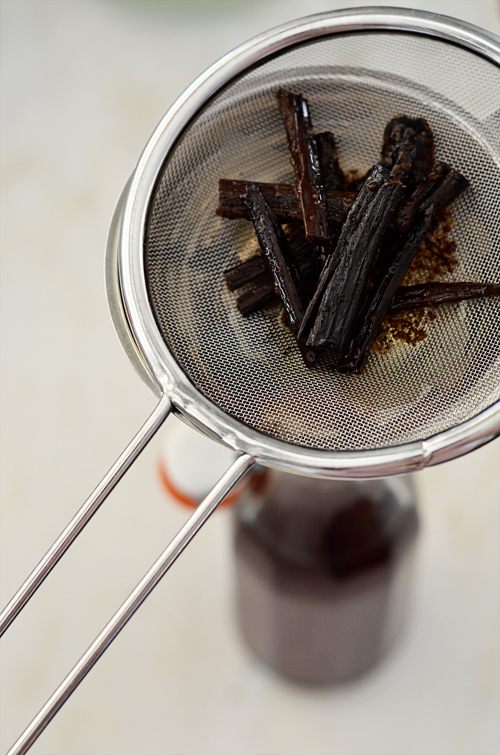
After 6 months, you can strain the extract. I’ve kept mine in for a year, but I’ve heard the beans go bad after a while. You can also put new beans back in the bottles if you like.
I am aching to make something I tried today at WhiskandLadle. We went to the Scripps La Jolla Aquarium and then over to WhiskandLadle for brunch. To start, I had a piece of butterscotch banana bread with dulce de leche. Yes, it was as good as it sounds and was a perfect comfort food since I wasn’t feeling really great. I really want to make it and this vanilla extract will be perfect in both the banana bread and the dulce de leche.
Now, for some vanilla extract labels…
|
|
 (chevron heart garland printable below)


