Pet Pigs

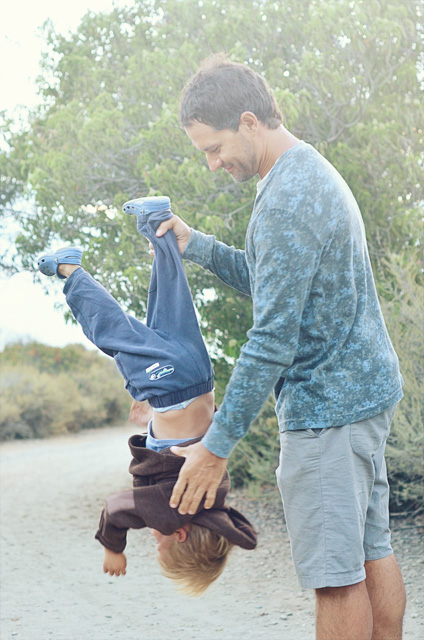
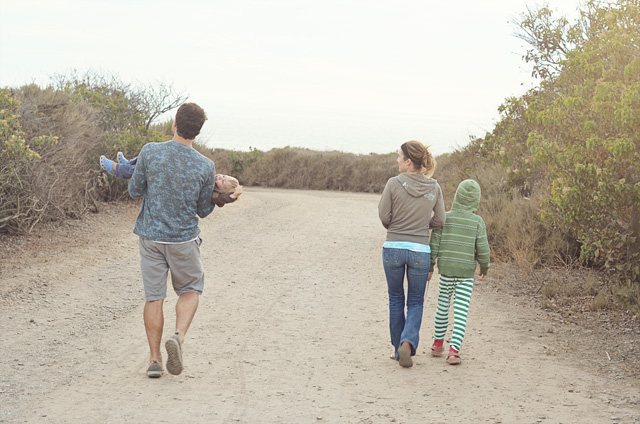
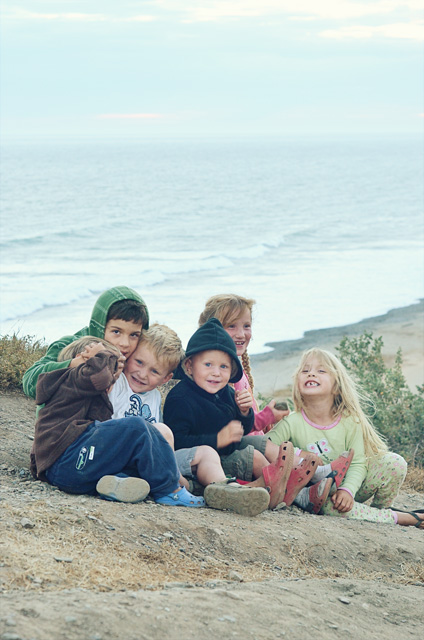
We are a family of  9 now!

Ed

Bon

Faith

Jack

Dean

Leonard the Pug

Peter, Figueroa, and Woody the guinea pigs! *NEW*

We are 10 if you count the worm family in our compost bin.

11 if you count the rotating lizard or beetle member.

I had guinea pigs growing up, all the way as late as high school.  They were wonderful pets and I was so excited to share these amazing animals with my kids one day.  While my middle and oldest went to Las Vegas with my husband to be with their grandparents while he worked, my youngest and I devised a plan to get some guinea pigs.  I’ve been searching on our local guinea pig rescue site for a solid year and RARELY saw babies.  As you can imagine, when they did appear, they got snatched up.  Frustrating.  I’ve also been checking Craigslist but the rare ones i did find were snatched as well.  So, when I texted the people looking for a home for 3 adorable short-haired baby guinea pigs, I assumed they were gone in 60 seconds.  So, I said a little prayer.  No, I really really did.  I said a prayer for some guinea pigs.

I thought the timing was perfect for these little guys and thankfully, so did God.

Travel: San Onofre State Beach

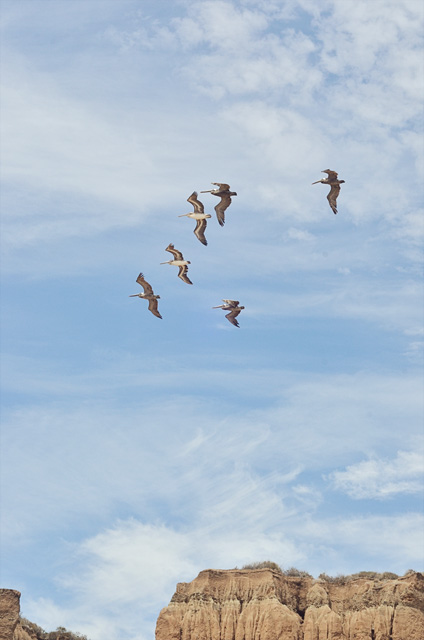
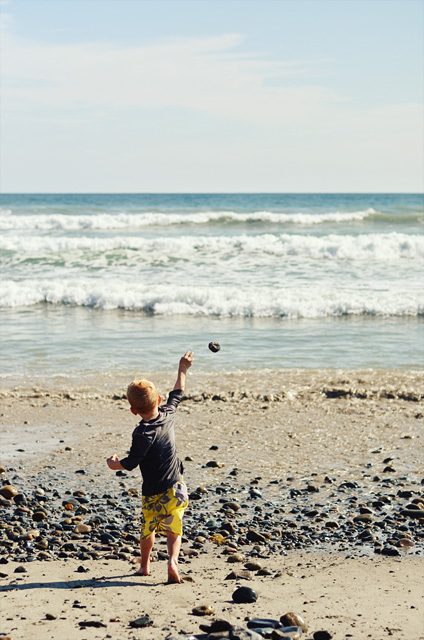
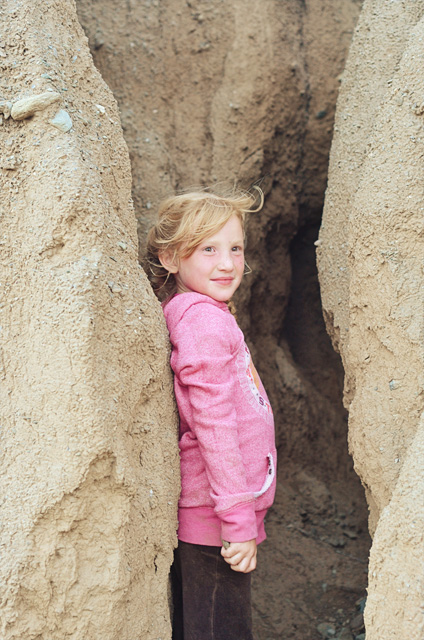
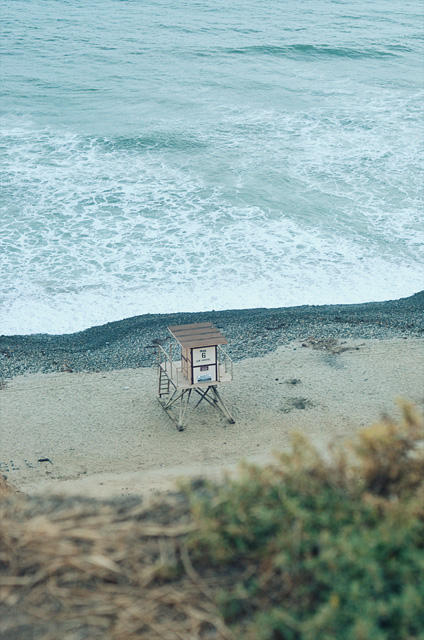
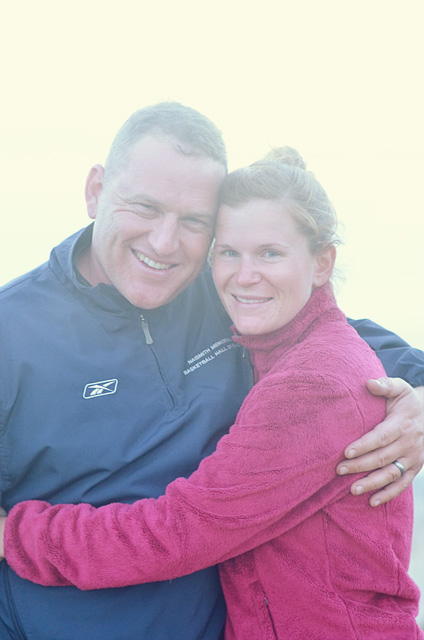
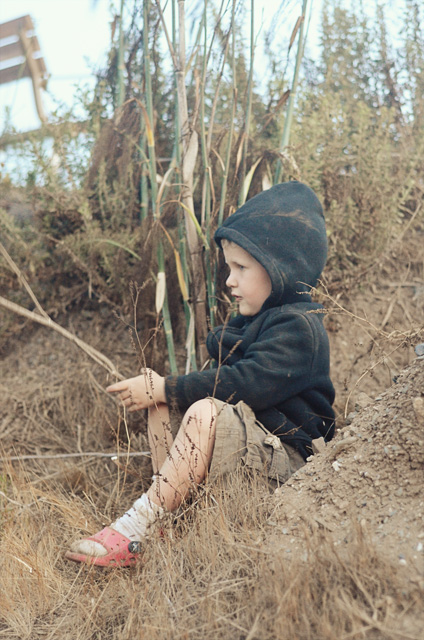
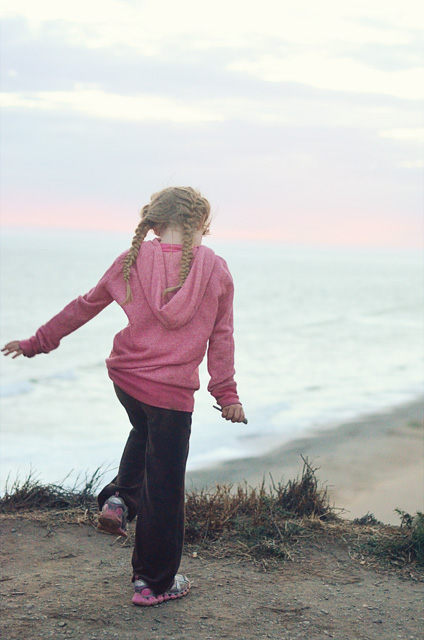
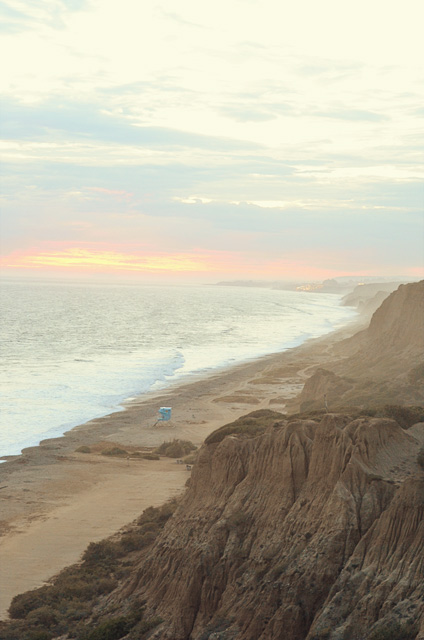
Soooo…we tried a new campsite this year.  As you drive down the 5 South toward San Diego, you will notice a rather obscure campsite off to the right-hand side, near Camp Pendleton.  It’s inconveniently placed near the San Onofre power place.  Yes, those are the ones that are shaped like boobs.  It’s true.  Everyone knows it.  We had driven by this site a lot over the past few years and wondered how good it might be.  You see, this campsite is right next to the beach which is AMAZING, but it’s also right next to the freeway.  Unfortunately, the  closeness to the beach doesn’t remove the noise from the freeway.  I was hoping it would, but it doesn’t.  We still enjoyed a nice few days with some friends and family.  If you plan for some noise, it’s a great place for surfing and boogie-boarding.

Good Times.

**WARNING** THIS WAS A NO MAKEUP EVENT**

Ginger Peach Hand Pies

I hope your summer has been full of rest and peace, friends!

Fresh summer produce is such an amazing part of summer, don’t you think?  I love going to our local markets and soaking in the glorious smells that the season has to offer.  Although I live in a very farm friendly area, summer brings fresh markets to pretty much every area of the country.  If you haven’t found any local farms yet, check out Local Harvest, which gives a pretty accurate list of neighboring farms.  Buying organic food the day it’s picked is a pretty amazing thing.

That brings us to peaches.

I think it’s safe to say this fruit is the essence of summertime.  Without the heat summer brings, there is no peach.  Next time you feel hot, remember all that yummy fruit that is living it up in those rays.  You see, it makes it just a little more endurable.

I thought a good place for peachy goodness to dwell would be inside a hand pie with flaky crust and some ginger.

Don’t you agree?


Deliciousness!  Ok, let’s make these guys…
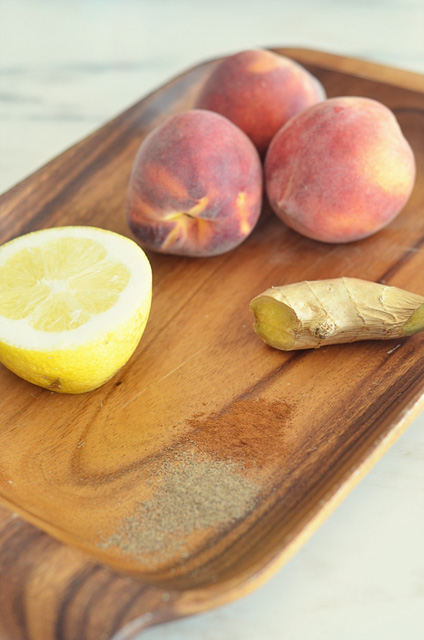
To start, chop the peaches, grate the ginger, and squeeze the lemon juice.
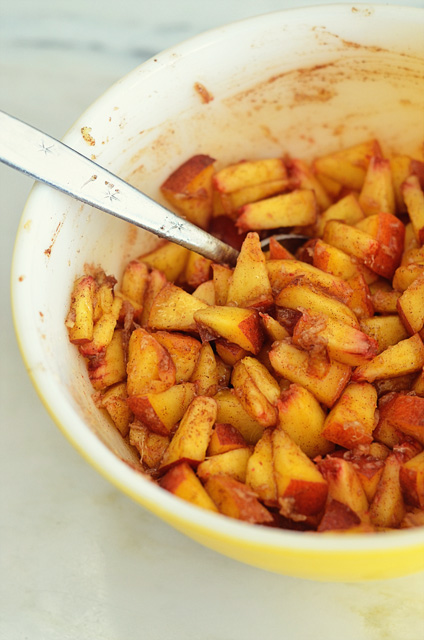
Mix all of those with the cinnamon, cardamom, and sugar.  The cardamom isn’t necessary, but I really love it, so I threw it in to make things interesting.
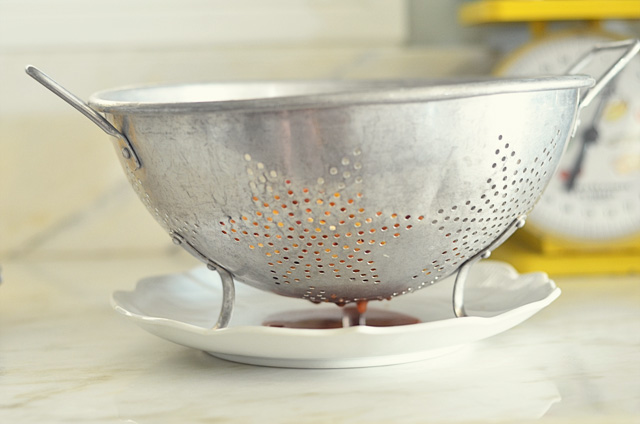
After it’s mixed, let the fruit strain from the juices for several minutes.  If the juices were left in, they could leak out and cause burning or make the dough soggy.
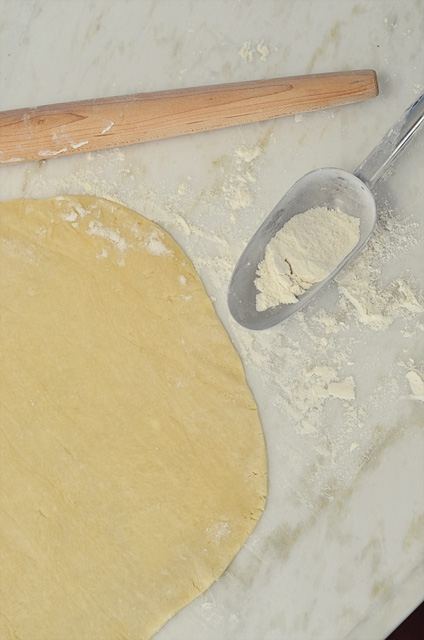
Sprinkle a little flour on your counter and rolling-pin.  You should be starting with 4 total pieces of dough (what would have been the tops and bottoms of whole pies from a recipe).  Roll out your dough to be a 14 inch circle or until it’s 1/4 of an inch thick.
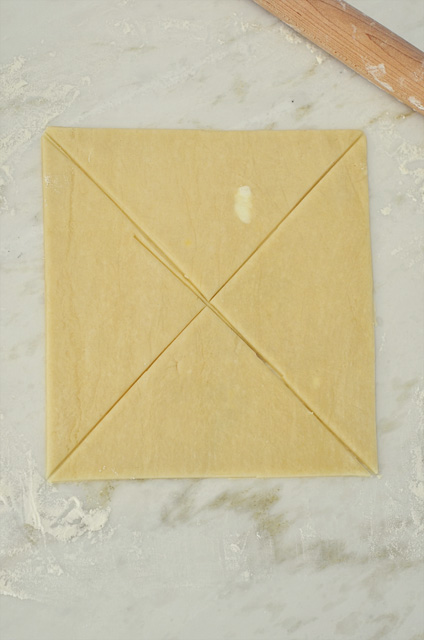
Cut the dough twice diagonally to make 4 triangles. Repeat until dough is used up.  You can roll out the scraps to make more pies if you want.
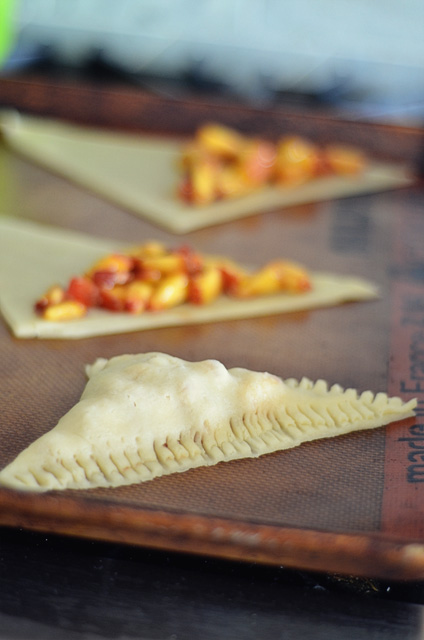
Fill one triangle with peach filling, leaving space all the way around the edges to press down and close.  Place another triangle on top and use a fork to press down the edges.  If you see cracks, try to smooth them with your finger so the juices cannot escape.  Brush the top with the egg and sprinkle with sugar to your liking.  Bake at 400 degrees for 12-14 minutes or until golden brown.

Ginger Peach Hand Pies

For the filling:

3 just ripe peaches

2 tsp. fresh ginger, grated

2 tsp. freshly squeezed lemon juice

1 tsp cinnamon

1/2 tsp. cardamom

2 T. sugar

For the Crust:

1 pie or tart dough recipe, enough for 2 pies with tops and bottoms

( I have one here available from my homemade pop tarts)

or

Pre-made pie dough from a store like Trader Joes.

(Just remember to defrost it beforehand)

1 egg, beaten

large grain sugar for sprinkling on top

To start, chop the peaches, grate the ginger, and squeeze the lemon juice.  Mix all of those with the cinnamon, cardamom, and sugar.  The cardamom isn’t necessary, but I really love it, so I threw it in to make things interesting.  After it’s mixed, let the fruit strain for several minutes.  If the juices were left in, they could leak out and cause burning or make the dough soggy.  Sprinkle a little flour on the counter and rolling-pin.  You should be starting with 4 total pieces of dough (what would have been the tops and bottoms of whole pies from a recipe).  Roll out your dough to be a 14 inch circle or until it’s 1/4 of an inch thick. Cut the dough twice diagonally to make 4 triangles.  Repeat until dough is used up.  You can roll out the scraps to make more pies if you want.  Fill one triangle with peach filling, leaving space all the way around the edges to press down and close.  Place another triangle on top and use a fork to press down the edges.  If you see cracks, try to smooth them with your finger so the juices cannot escape.  Brush the top with the egg and sprinkle with sugar to your liking.

Enjoy this taste of summer!

Slowing Down

Just popping in to say hello to you all.  It’s the last week of summer vacation for us so I am trying to soak it all in.  Only problem, I feel like this week is jammed with event after event.  Actually, I think that is just life in general.  There seems to be a lot of  “stuff” right now.  I feel tugged in a lot of life directions and am just praying for peace.

So hard to choose a direction sometimes.

How do you know when to say no?

Just taking it one day at a time and be confident in the ways God is using me TODAY, without worrying about next week.

Hope your summer has been peaceful, friends!

Can’t wait to be back with you again soon.

DIY: Vacation On A Branch

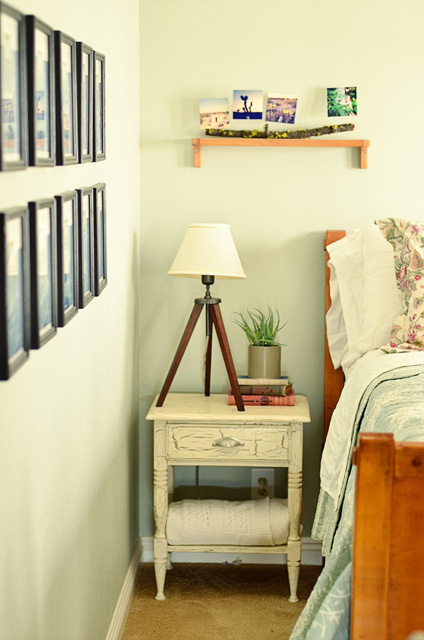
Over the course of the Summer, we can take so many pictures to remember the fun, hopefully relaxing, times we had as a family or with friends.  We want to remember the beauty that we take in around us that reveals the complex nature of our God.  He made these brilliant things around us to be admired and appreciated.  Photographs hold on to that beauty and complexity.

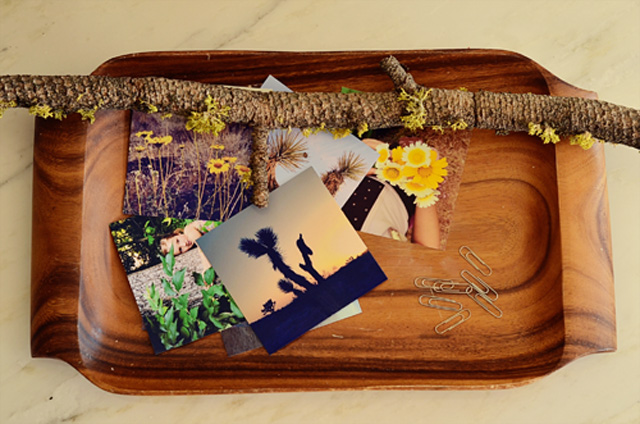
I’m sure you all have heard of Postal Pix by now, but if you haven’t, allow me to share something extremely useful and wonderful.  Postal Pix is an app you can download on your phone which allows you to easily order prints from your camera’s picture library or roll.  They are about 30 cents for a high-quality 4″ x 4″ picture (the size pictured), but they have many other size/price options.  They mail the your selected pictures to your house and you are all ready to go.  Not bad for a phone, right?

I’ve had my Postal Pix photos (taken using my Instagram) laying around, waiting to be used, since May.  It’s summer, so I look for a touch of simplicity to go with the relaxed mindset I enjoy having (or attempting?) during these few short weeks.

I wanted to create something fast and simple, using materials I already had.

I wanted to remember our Summer trip that already seems a distant memory.  I’ve been bored with regular picture frames lately, so I decided to try something fun and different.  My boys gave me this mossy branch after finding it on a hike with my husband in our local mountains.

I love everything about it.

This project literally requires a branch, pictures and some paper clips.

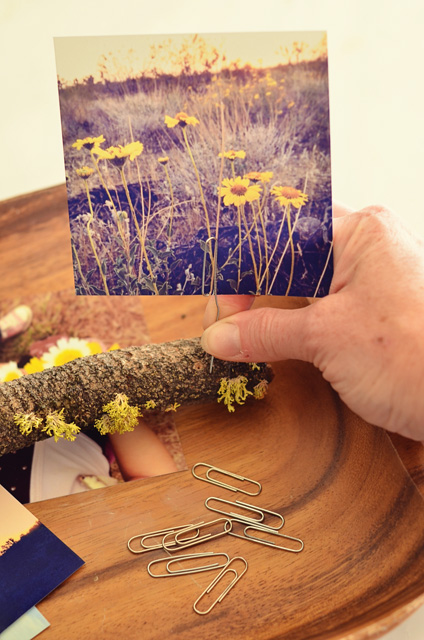
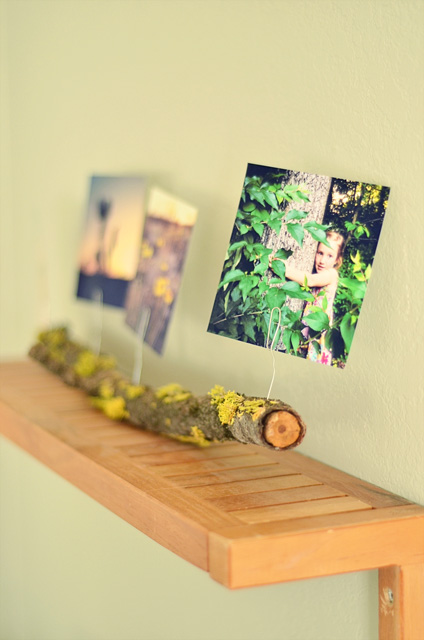
I just bent the outside “free” end of the paperclip down and attached the pictures.  Then I poked the paperclip into the branch, adjusting them to differing heights.

I’m sure you could buy something fancy to display the pictures better, but the paper clips cost me $0 and only a few seconds of installation.

 So simple.

I love this picture of my sweet girl, especially since I learned what poison ivy looks like in Kentucky (minutes after this was taken). It was literally right next to her leg.

That was a close one.

Now my lovely branch is ready to welcome our summer guests!

I’m so thankful to be able to enjoy those memories in this simple way, instead of longing for them to be off of my memory card.

Anyone have any fun plans this summer ?


Page 24 of 54« First...10...2223242526...304050...Last »