It’s the last day of school.
Let me say that again.
IT’S THE LAST DAY OF SCHOOL!!
While I love EVERY bit of teaching my kids, every teacher needs a break at some point, right?
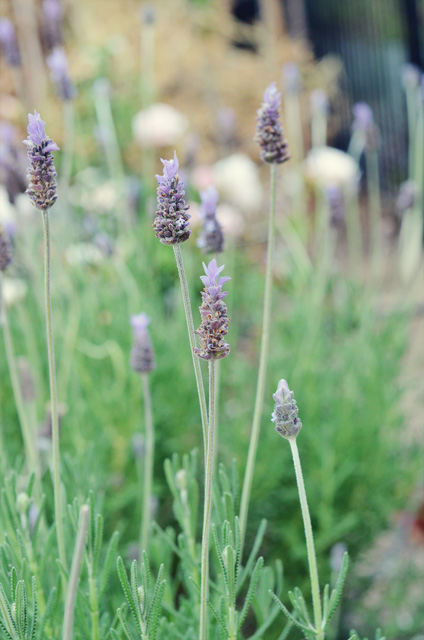
It’s summertime. Can you believe it?
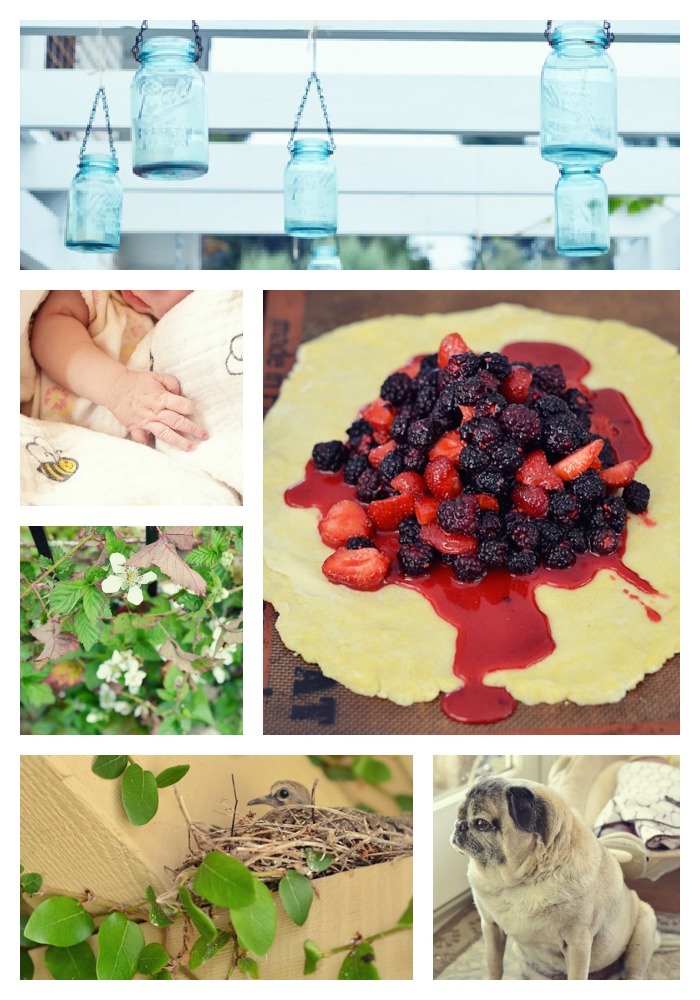
Here in San Diego, God has been showering my garden with sunshine-y goodness and I’ve been soaking it all in. I am so thankful to have a few sweet little strawberry patches, a large boysenberry ‘wall’, and a few blueberry and golden raspberry plants to round out our little backyard homestead of berries. I have learned so much about gardening the past several years. The more plants I grow, the more I want other people to experience the thrill of seeing God’s amazing creation, growing before their eyes. If you’ve been thinking of gardening in even a small part of your yard, check these out:
“The Backyard Homestead” and “The Urban Homestead”
These books make it super easy to find a growing style that works for you and your size of yard. Like any process, gardening is about organization and planning. The seeds pretty much cooperate with any conditions as long as they have sun, water, and food (by way of awesome soil). It’s easier than you think!
Summertime means jam to me and LOTS of it. One of my favorite smells on the entire planet is that of strawberry jam cooking on a slow summer day. There is usually music playing and I try to have friends around whenever possible. Friends make the time pass by quickly and they usually get to take some of the goods home!
Jam is also a great thing to share with…well…anyone. It can be a hostess gift, thank you present, get-well gesture, teacher’s gift, or can be shared with those neighbors you’ve been meaning to introduce yourself to for the last year.
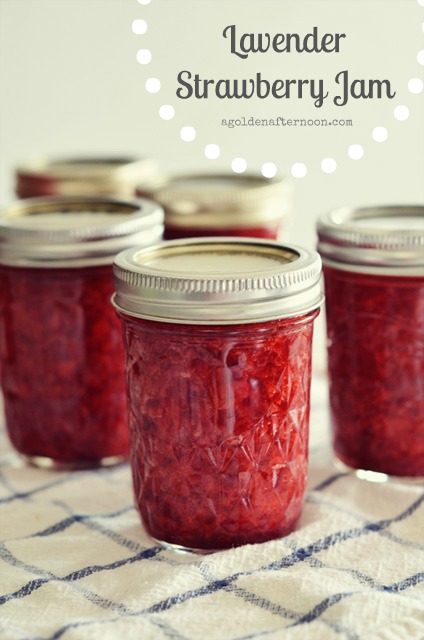
Here’s how I make my lavender strawberry jam…

Lavender Strawberry Jam
(sources: many different recipes combined over many years of good and bad jam)
1 1/2 c. sugar
2 tsp. Pomona’s Universal Pectin (found online or at natural food stores like Whole Foods)
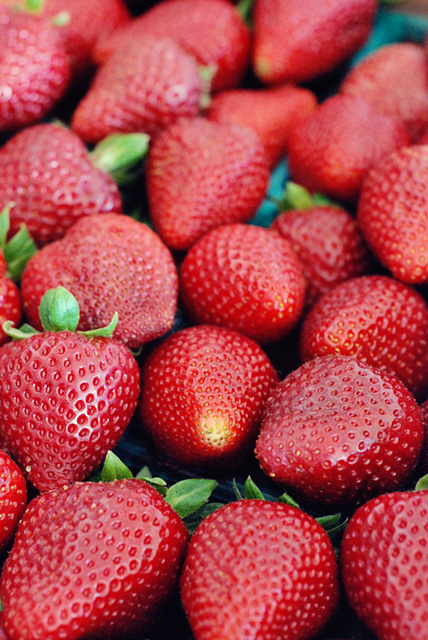
8 cups strawberries, hulled and cleaned
2 tsp. calcium water (from the Pomona’s box)
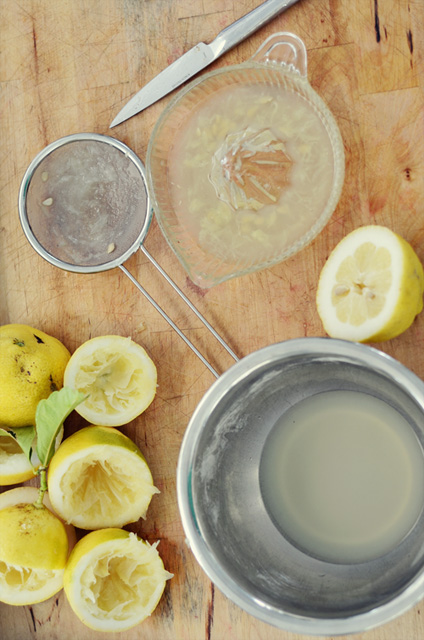
1/2 c. lemon juice, fresh squeezed
3 tsp. dried lavender blossoms, chopped
1. Start by boiling some water in a large pot for sterilizing your jam jars, if you’re using them. Place another pot on the stove for your lids. When the water is boiled, you will add as much water as needed to cover the lids and rings. They are sterilized separately because placing them in boiling water can melt the rubber on the lid, which is needed to seal the jar.
2. Mix the sugar and pectin in a bowl and set aside for later.
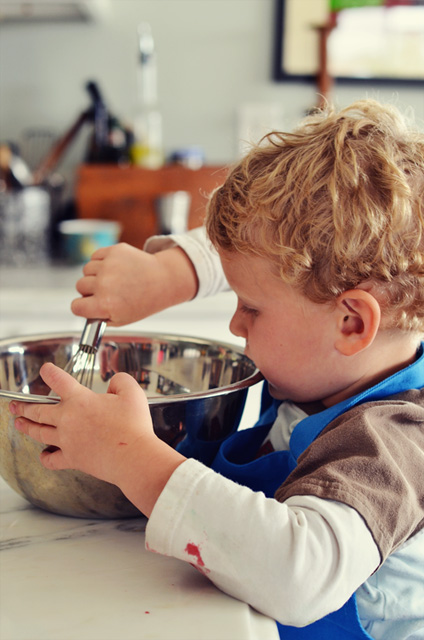
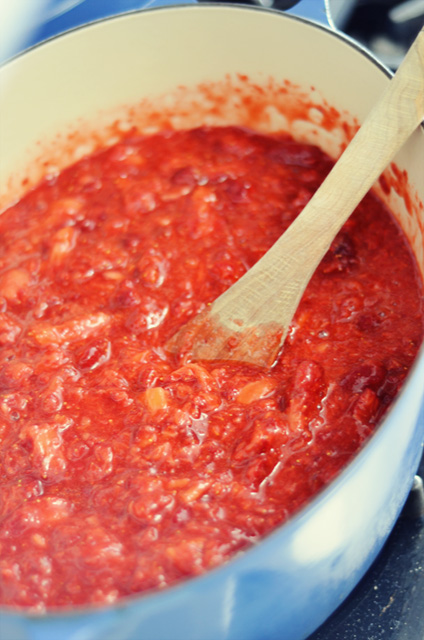
3. Crush the strawberries until you are happy with them. I like mine with a few chunks so squish yours a lot if you prefer your jam smoother. This is a GREAT thing to have kids help with. They love it!
4. Bring the strawberries to a boil, then add the lemon juice and calcium water.
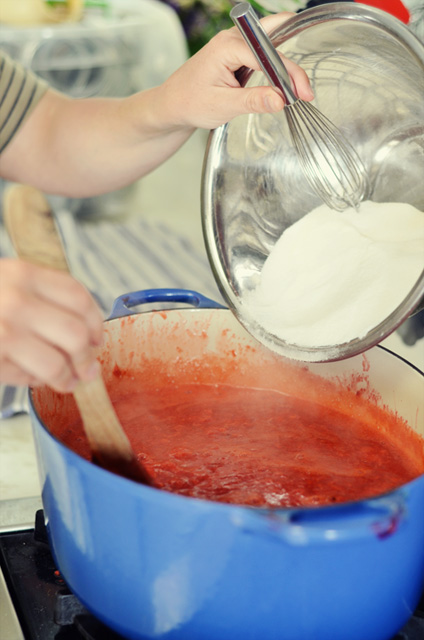
5. Gradually stir the pectin and sugar mixture in with the strawberries, until combined. Add the dried lavender. Return to a boil and stir frequently so it doesn’t burn.
7. While it’s returning to a boil, lay out 1 towel for your hot jars to lay on and 1 towel for the completed jars to sit on.
8. Skim the foam, if it is present (trust me, you have to do this or it will leave a funky looking white layer on the top of your jam which resembles mold. I may or may not know that from experience). Remove sterilized jars from the water with tongs and place them on the towel. Keep water boiling.
9. Carefully fill the jars until there is a 1/4 space between the jam and the top (that space is called ‘headspace’ in the jam world :)). Wipe around the rim of the glass with a clean rag or paper towel. Use the tongs to place the lid on top and then used your fingers to screw the outer rings on. Not too tight, just finger tight.
10. Place the filled jars back in the boiling water for 10 minutes. Remove and place on the towel. In an hour, tap the lids to make sure they are tight and don’t press in. If the lids do pop in and out, then immediately place those jars in the fridge. They are still good to eat. Let the others sit still for a day and then they are ready to hand out to friends and family or store away for the winter!
For some cute canning jar labels check out the link below:

Stick around and find us on:
F a c e b o o k // T w i t t e r // P i n t e r e s t // I n s t a g r a m // E m a i l


