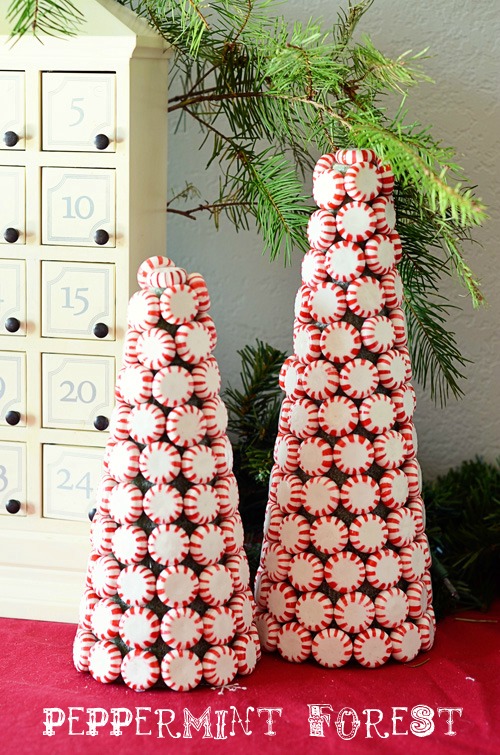
You’ve probably seen that one super-cute peppermint wreath floating around Pinterest. I love the simplicity of it and that you only need glue, peppermints, and a wreath form. I had planned to make one, from this pin, but then I watch “Elf”. I’ve said before that if you haven’t seen that movie, you most definitely should. It’s one of my favorites. So, I was listening to the description in the movie about the candy-cane forests and I thought to myself…I think I need one of those. I need a candy-cane forest.
Right away, I put my little elves to work on the unwrapping of the peppermints. It’s a GREAT job for kids, it only costs you a few peppermints in the process (snitchers). We kind-of made it a race where I glued them while they unwrapped them. You add some Christmas music and it was pretty fun. You just buy a foam tree from a floral supply place or a craft store (San Diego, you can find these at Michael’s), you glue them on with a hot glue gun, and wait for it to dry. The only tricks I learned were to start at the bottom and always keep a portion in the back that is your “sloppy” side. The shapes just can’t meet up every time so I think it’s a good idea to leave yourself some room to mess up on that back portion so you aren’t using a pill divider to slice your peppermints to fit. I’m sure there are people who do that, but I’m not that crazy. I’m sure you could paint the tree the correct color so it doesn’t look “off” but this is only 1/12 Pinterest projects.
Peppermints are special in my family because they are the heart and soul of the best Christmas cookie on the planet, The Pink Cloud. We have been making this cookie for as long as I can remember. Apparently my Grandma found it in a magazine a long time ago and we’ve been making it ever since. I can’t remember it not being here. In fact, it is a requirement for tree decorating. My mom always made decorating the tree into a little party. There was always Babybel cheese with crackers, salami, eggnog (which I found out as an adult my mom never liked), and definitely Pink Cloud cookies. I faintly remember that ball of cheese that’s rolled in nuts, but I could be wrong. There has been stress, time crunches, a lack of ingredients, sickness, and tears, but nothing has kept us from our Pink Clouds for the process of decorating. There would be an empty tree all year if there were no Pink Clouds. I may or may not be leaving the recipe below, you’ll have to keep reading to see if it’s there at the end!
Here is our tree hunting for 2011. We never leave our personalities behind in this family:


We all agreed on the one to the right of us. It’s nice when it works out that way. I feel terrible, though, that for the first time ever in his life, our dog was forgotten. Poor guy has been in every Christmas tree photo for his 8 Christmases. Sorry, Leonard. We still love you.
Back to those cookies…I’ll give you the original recipe, but my sister and I don’t actually use the cookie dough part anymore. I gave up shortening and try to stick with butter, but it does make THE best pink cloud cookie :). You can basically use any sugar cookie recipe to suit your tastes. This year, I tried Alton Brown’s recipe and didn’t really love how it worked out. His cookies are really great, just not paired with the meringue in this recipe. They were a little too crispy. I must admit I really miss the old cookie dough/meringue combo. Maybe my Mom will make them. Are you listening to me, Mom?
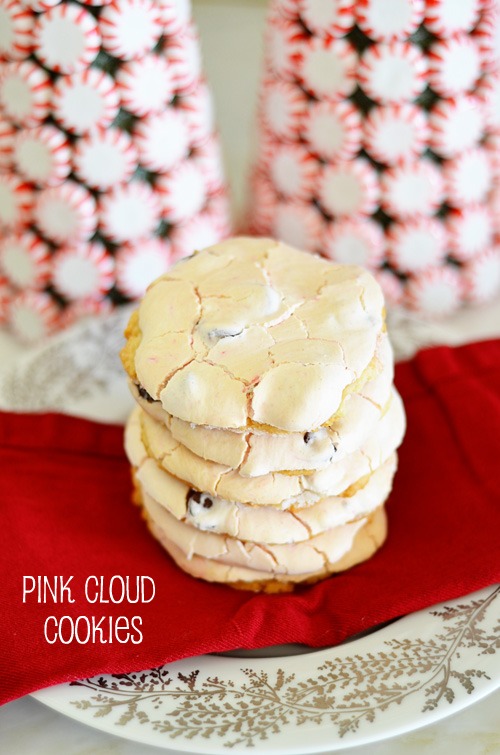
Pink Cloud Cookies
cookie dough:
3/4 c. sugar
2/3 c. shortening
1 tsp. vanilla
1/4 c. milk
2 eggs yolks
2 1/2 c. flour
1/2 tsp. baking powder
1 tsp. salt
peppermint merinque:
2 egg whites
1/4 tsp. salt
1/2 c. sugar
1/2 tsp. vanilla
1/2 tsp. white vinegar
1 c. semi-sweet chocolate chips ( I usually sub 60% cocoa here)
1 c. coarsely crushed peppermints (not candy canes!)**
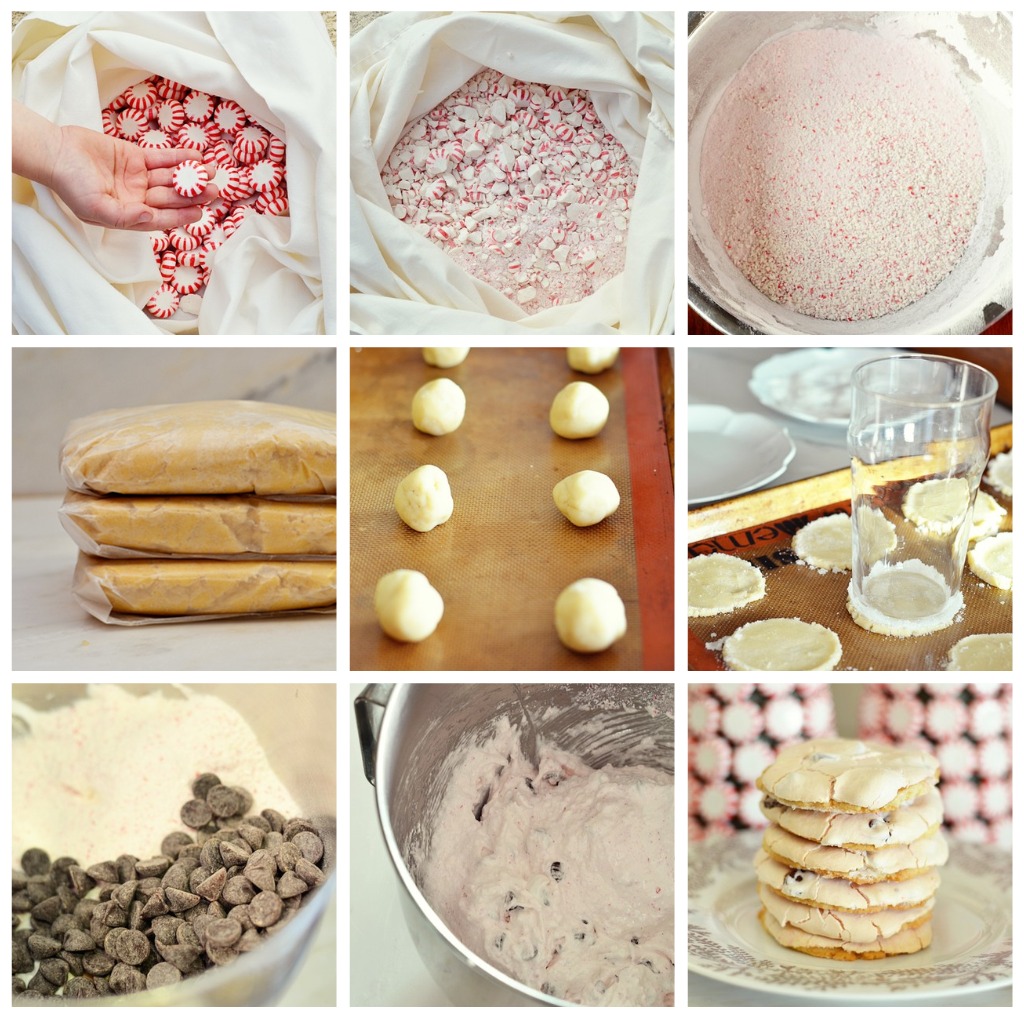
In a large bowl, combine the cookie dough ingredients. Blend well with a mixer. Chill while making the meringue.
Beat egg whites in a bowl with salt till soft mounds form. Gradually add sugar. Continue beating until stiff peaks form.
Fold in the remaining ingredients. Shape dough into balls (small walnut size-this is no joke!). Place on a ungreased sheet. Flatten with the bottom of a glass, dipped in water and sugar (alternating water then sugar between cookie squashing to help the dough not to stick to the glass). Top each cookie with a rounded T. of meringue. Bake for 20 minutes at 325 or until the sugar cookie is just barely golden.
**To crush the peppermints, I put mine in an old but sturdy pillowcase and hammer away. I put my crushed pile through my colander to make sure I don’t have huge pieces. If I had a sturdy canvas bag that didn’t “leak” fabric, I would use a canvas bag like my mom has.
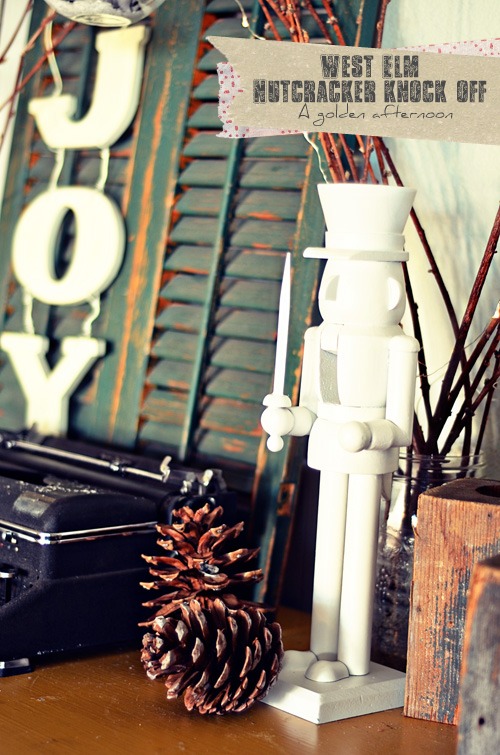
Are you having an awesome Christmas so far? Ours is starting to look that way. I mentioned before that we are on break from homeschooling right now, but it hasn’t felt like it. It seems to be taking some time for the “vacation” to set in. Right now it feels like perpetual cleaning, dishes, laundry, and random carpet cleaning blocks. We have been visiting with people and making plans but my favorite part of Christmas is relaxing with a fire, some great music and people I love. Okay. Okay. Sometimes it’s jumping around by that fire after winning a game of taboo against the people I love, but ya know…same thing. Also, there are usually cookies or toffee there (made by my mom…thanks, mom:)). I’m excited for those times and for watching “Love Actually” with the man of my dreams. That has become one of my favorite things when you place it in the midst of a house of 3 little munchkins! I appreciate these moments so very much.
This nutcracker project was fun because my kids happen to LOVE this story. They picked out the nutcracker and were actually excited about making a “modern” nutcracker. I’m sure they were just excited I bought one. I found mine on sale at target for $10…not a bargain but not too shabby considering the one at West Elm (I pinned it here) I was modeling it after ranges from $29-$59. They come in white or red.
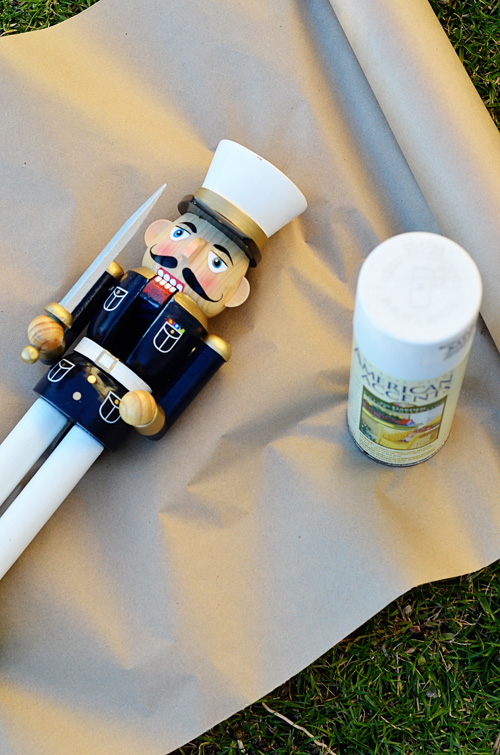
I was hoping to rescue some random hippie nutcracker who just shouldn’t be, but they make the random nutcracker’s heads different shapes. So, we had to choose a marine. We have a few marine nutcrackers or I would have just kept it as is. Plus, we were going for clean-cut and modern.
All you really have to do is remove the fabric or extra pieces from the wooden body, pray it with primer, and then put a few coats of paint on it. I think I ended up with 4 coats total , but it was really just a few sprays every few hours for the whole day. I just put it outside and would spray a few patchy areas as I saw them. Super easy.
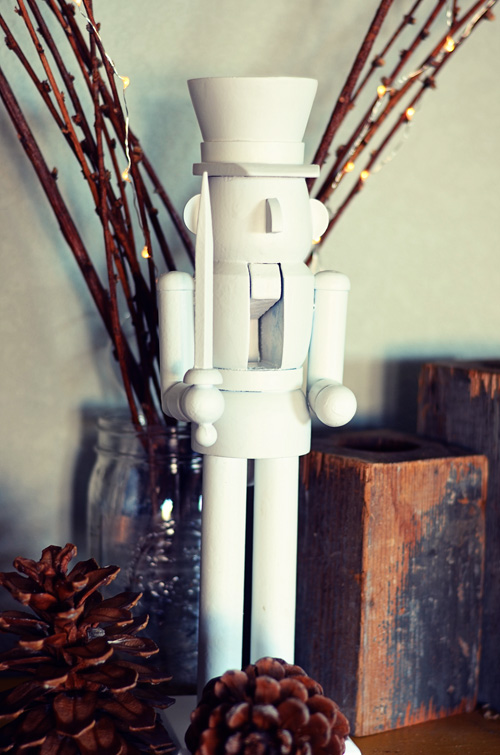
One more thing to put in my entry-way. Plus, my kids love him. Bonus points for Mom.
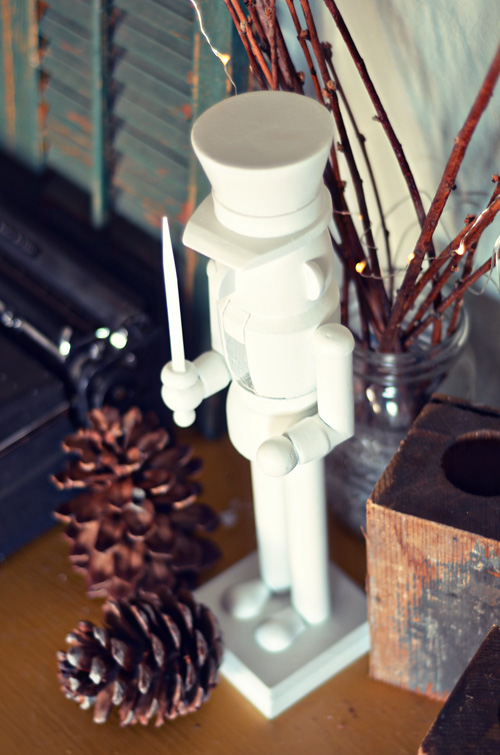
I really like him.
What Christmas projects are you working on right now?
So00, this week the kids and I attempted to make snow-globes. We all know the kind that is made in the baby food jar, the tomato sauce jar, or the ever so fabulous mason jar. A month ago, while at the craft store, I happened upon some super-cool looking plastic snow-globes which had my 3 munchkin’s names written all over them. They claimed to be “shatter-proof” which is appealing because what kids wants to just stare at a glass jar. why not have a little fun? This week we broke them out, picked out our animals and trees (and Lego men!) to put inside, and waited for the glue to dry. After we filled them up with water they worked for about 5 minutes but slowly each glued item began floating to the top. We were bummed! The glue just wouldn’t adhere to the plastic. The upside is that it led us to something that I love more. It’s a spin on this Pinterest pin. You can find the “spheres” in my pictures at West Elm for $8!
These spheres of Christmas…
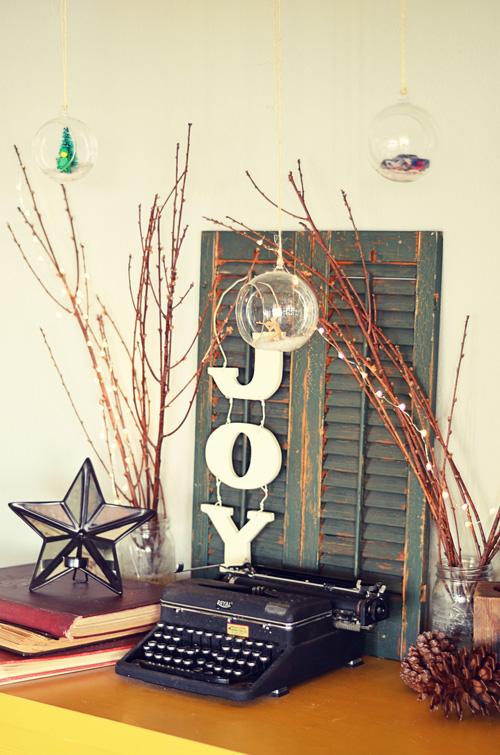
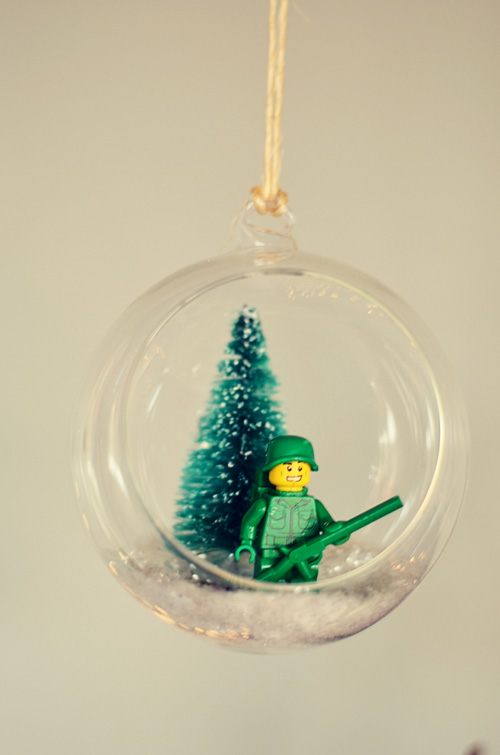
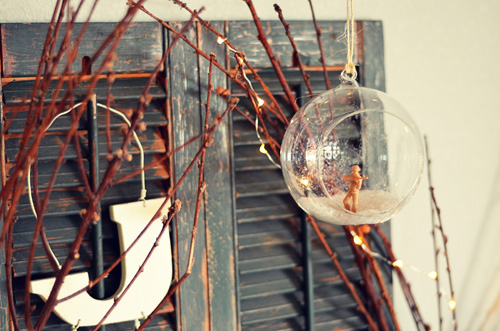
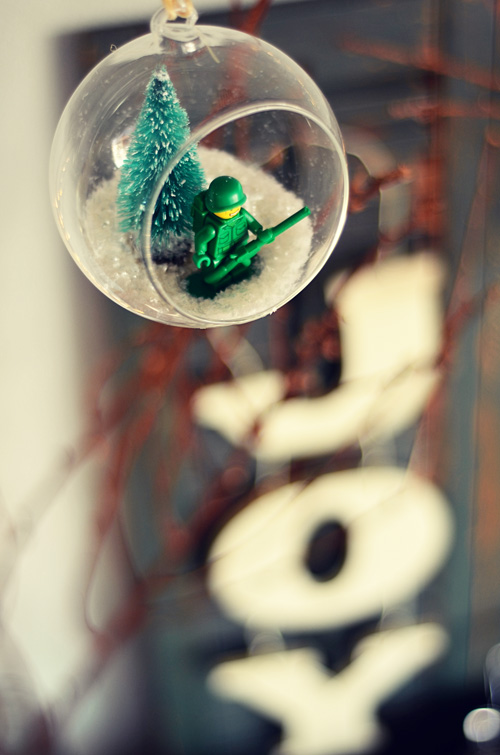
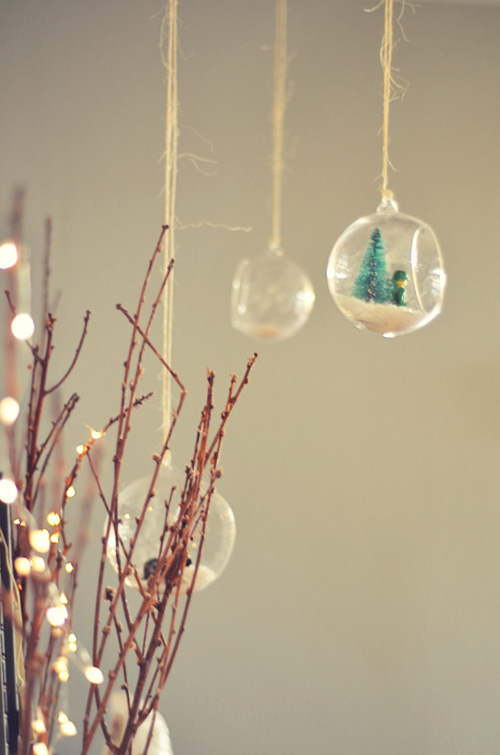
They might not be able to shake them and watch the snow fall, but they certainly will enjoy seeing them fly through the air like a Christmas bubble.
This doesn’t mean I have given up on the snow globes. I have mine in the mason jar that is just fine.
We’ll have another go at the kids jars…minus the plastic globe.
Don’t forget to post your Christmas Pinterest pictures…
Chalkboard paint is not a recent original idea, but getting/making the paint, taking the supplies out, and deciding what not to paint how many things to paint is the hard part. The pots below I had sponge painted when I was first married (8.5 years ago) back when sponging was trendy in the craft world…or was it ever. They’ve been sitting on my potting shelf for years just waiting to have new life.
Enter: chalkboard paint.
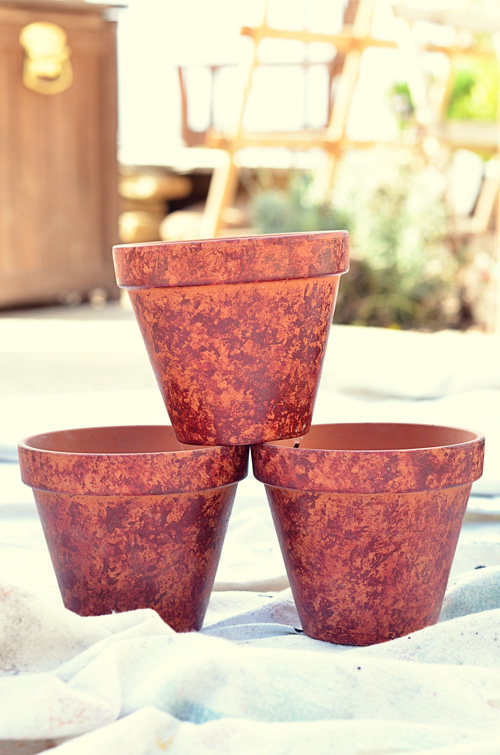
My pots with the uber-cool sponge painting from 2003. So, I slapped some paint on them.
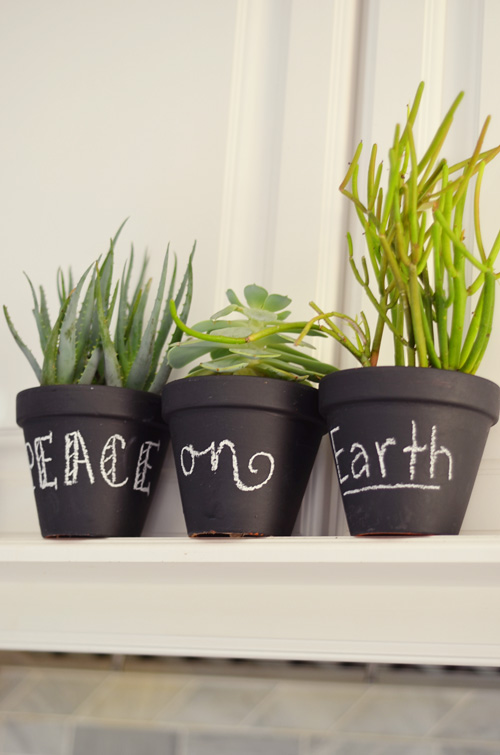
I just bought some succulents back in October when I made a chalkboard pumpkin and potted them right away. Succulents are awesome for people who don’t do well with house plants. I am not a good houseplant caretaker myself as I am constantly distracted in my projects. If it’s not watered automatically, it doesn’t get done. Anyway, you only have to water succulents every couple of weeks and a little more often during the warmer months. They store up their water so they take care of themselves in many ways which is awesome!
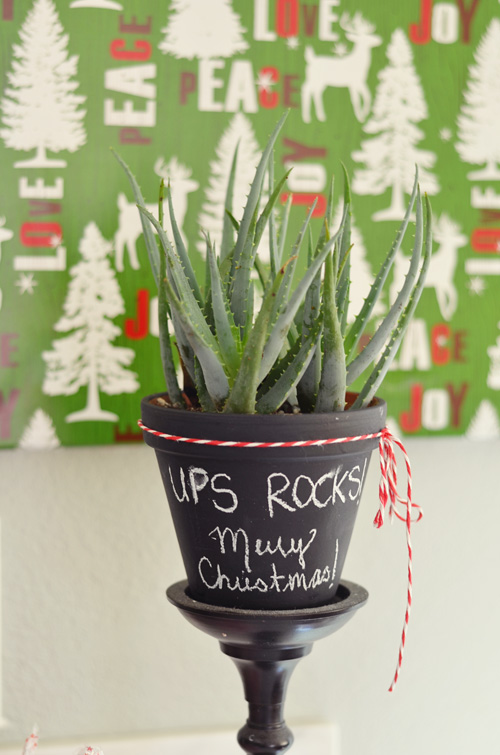
You can make one for your UPS driver. Ours is here every day during the holidays and almost every day the rest of the year so he’s high on my list, fo sho. Entrepreneurs who work from home, like my husband, have that effect on the mail system. Hey, we help keep them in business, right?
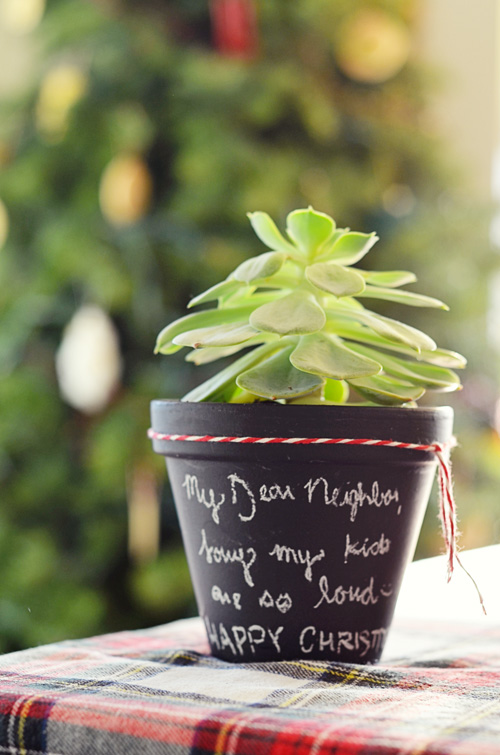
“Dear Neighbor, I’m sorry my children are so loud. Happy Christmas!”
One for your neighbors, to thank them for their patience with your children’s noise levels (my neighbors are actually a very sweet, kind, and patient couple).
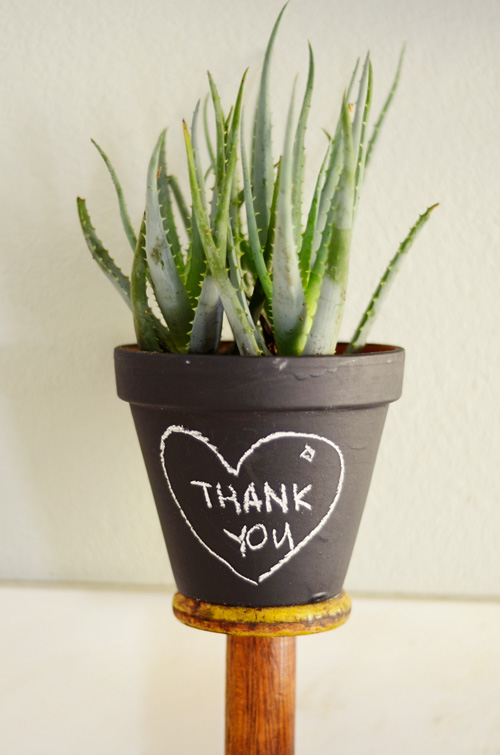
If you don’t get to it before Christmas, you could always use it as a “Thank You” for after the holidays or even a New Years gift.
Happy Chalkboard-ing!
Post your Christmas Pinterest projects here…

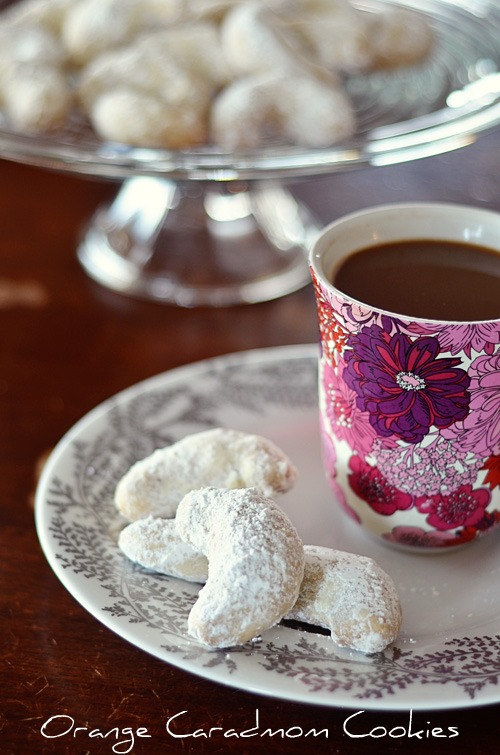
Every Christmas, I make the same cookie recipes. I’m sure I’m not alone in this. I love each one and have no intention of stopping this tradition. However, every year I also am tempting by the intriguing new recipes from Bon Appetit, Martha Stewart Living, my old Gourmet’s, and every other picture at the checkout line. I look and look at my stacks of Christmas magazines but don’t usually make time during Christmas for more than 1 or 2. This year I made one from my list from 2 years ago, which I was reminded of by this Pinterest pin. I’ve had cardamom cookies and marshmallows from a really great bakery in New York called Whimsy and Spice before. They have really great sampler boxes if you are looking for a gift for a foodie…or anyone really. Ever since I tried theirs, I’ve wanted to make some.
So, I give you my version which I added orange zest and hazelnut meal to.
Orange and Cardamom Crescents
(adapted from Bon Appetit)
3/4 tsp. cardamom
1/2 teaspoon ground cinnamon
1/2 teaspoon kosher salt
2 1/2 c. flour
1 1/2 cups powdered sugar, divided
3/4 c. hazelnut flour
1 c. unsalted butter, room temp
1 T. vanilla
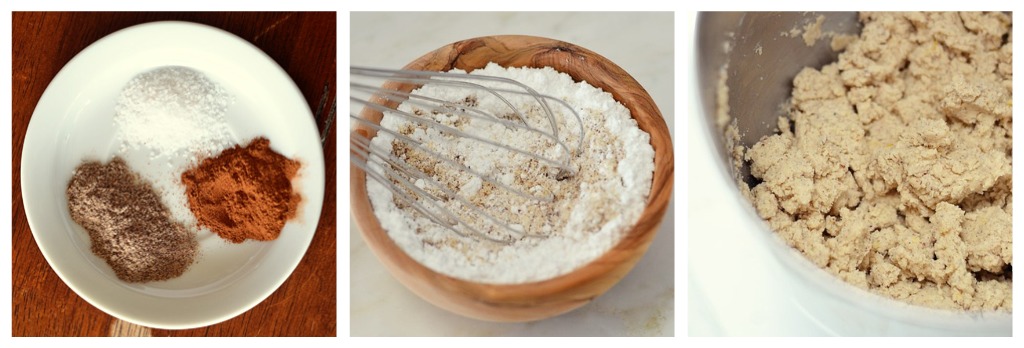
Preheat oven to 350°. Whisk cardamom, cinnamon, salt, and flour together. In a separate bowl, whisk 1/2 cup powdered sugar and hazelnut flour. With your mixer, beat butter and vanilla until creamy. Add sugar/hazelnut mixture, zest, and beat to blend. Add the dry ingredients and blend until they form a course but moist mixture. Flip onto the counter and knead a few times until it forms a ball.
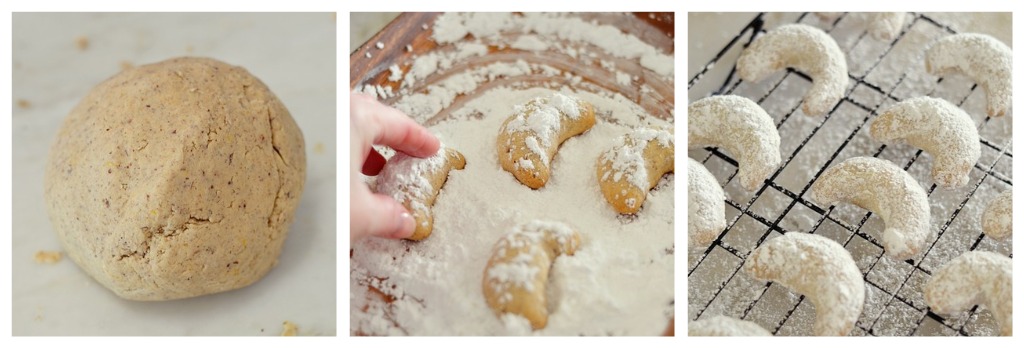
Take a T. of the dough, form a ball, and roll it a few times in your hands until it makes a log. It will be about 1 1/2 in long. turn up the ends to make a crescent shape. Place the formed cookies on a cookie sheet with parchment paper. Bake for about 12 minutes.
Sift the rest of the powdered sugar (1 c.) onto a plate or something else you could use to roll the cookies in. Roll the warm cookies in the sugar until the are covered and set on a rack to cool.
Post your Christmas Pinterest Pictures here…

Check out day 1 here.
|
|


